Short answer: unlike most modelers, Revit ships with a real renderer. The Render command runs on Autodesk's Raytracer engine, and you can push a view to Autodesk's cloud instead of tying up your PC — so "how to render in Revit" has a built-in answer. It is just often a slow, dated-looking one. Around it sit the plugins everyone names — Enscape, V-Ray, Twinmotion, D5 — and a newer path that needs none of them: export your view, upload it, and get a photoreal image back in about a minute. If you just want a finished image fast, that last one is the short answer. If you want to know when the built-in renderer or a plugin beats it, here is the honest map of all six ways to render in Revit — with real before/afters and a plain answer to which one you should use.
See it first: a Revit view, rendered
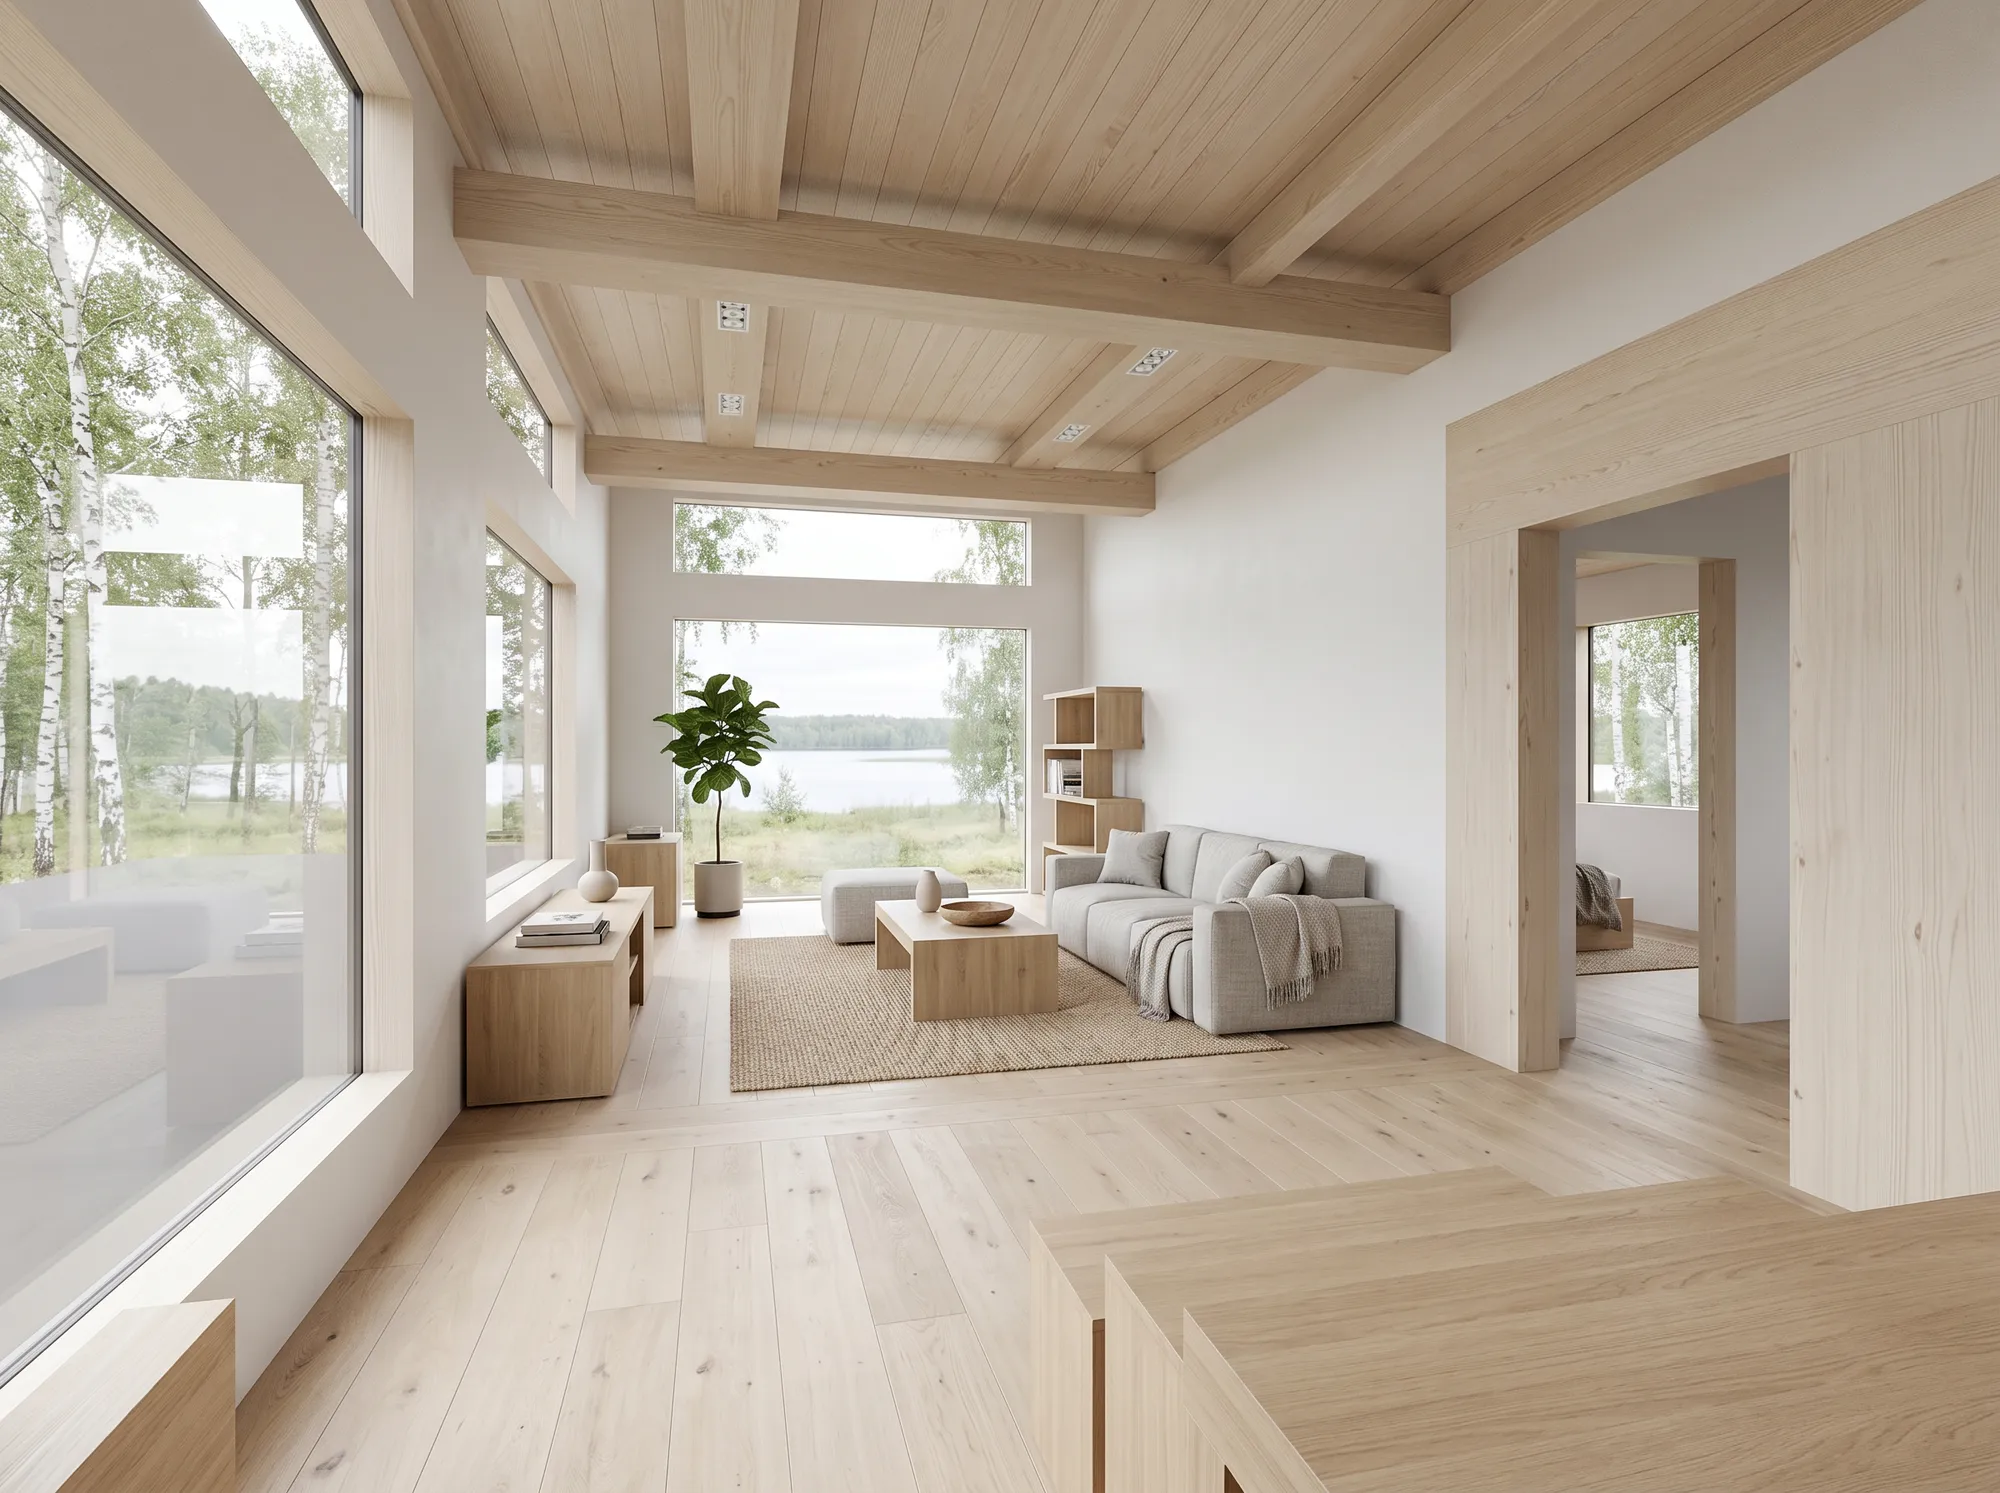
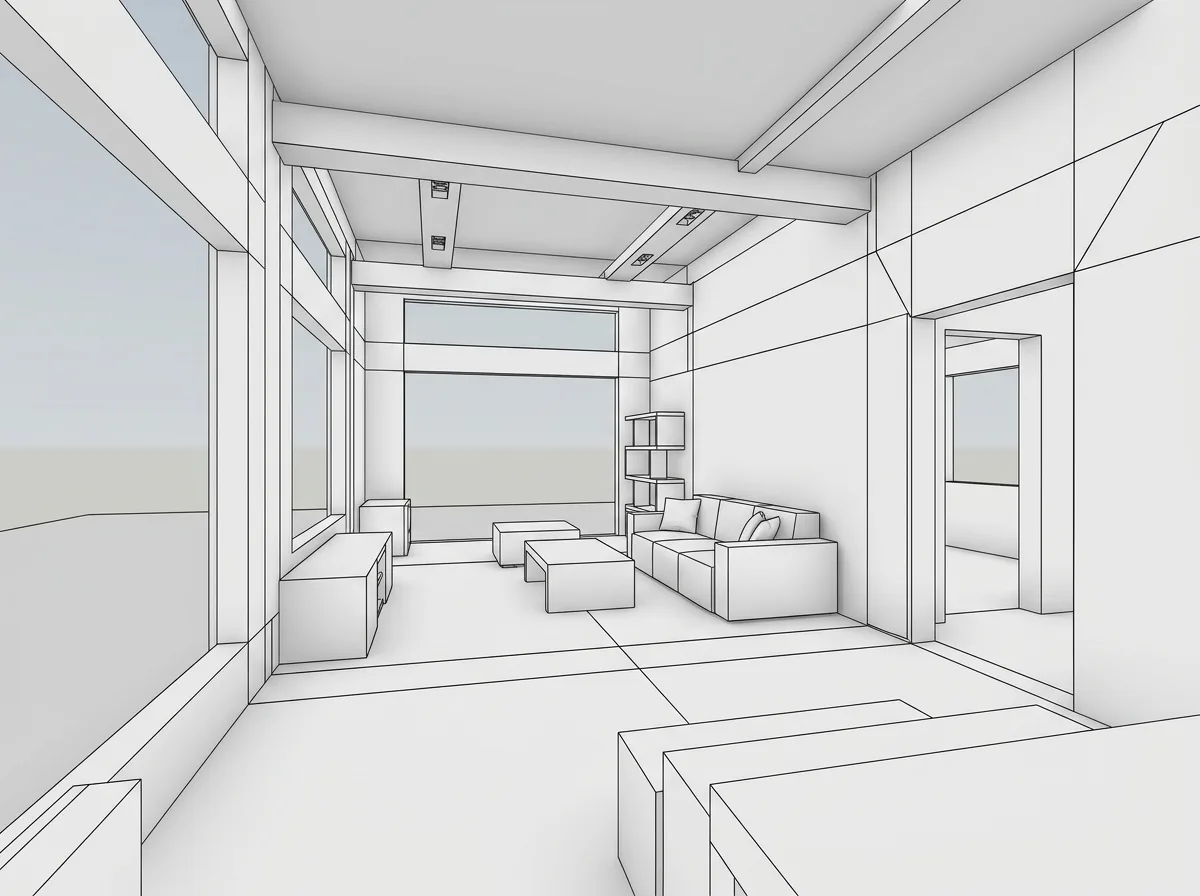
Before any method talk, look at the actual result. Each of these starts from an ordinary working view — the kind of flat, hard-edged export you already get out of a BIM model — and ends at a photoreal image. Drag the slider: the massing, window positions and camera do not move; only light, materials and context get added.
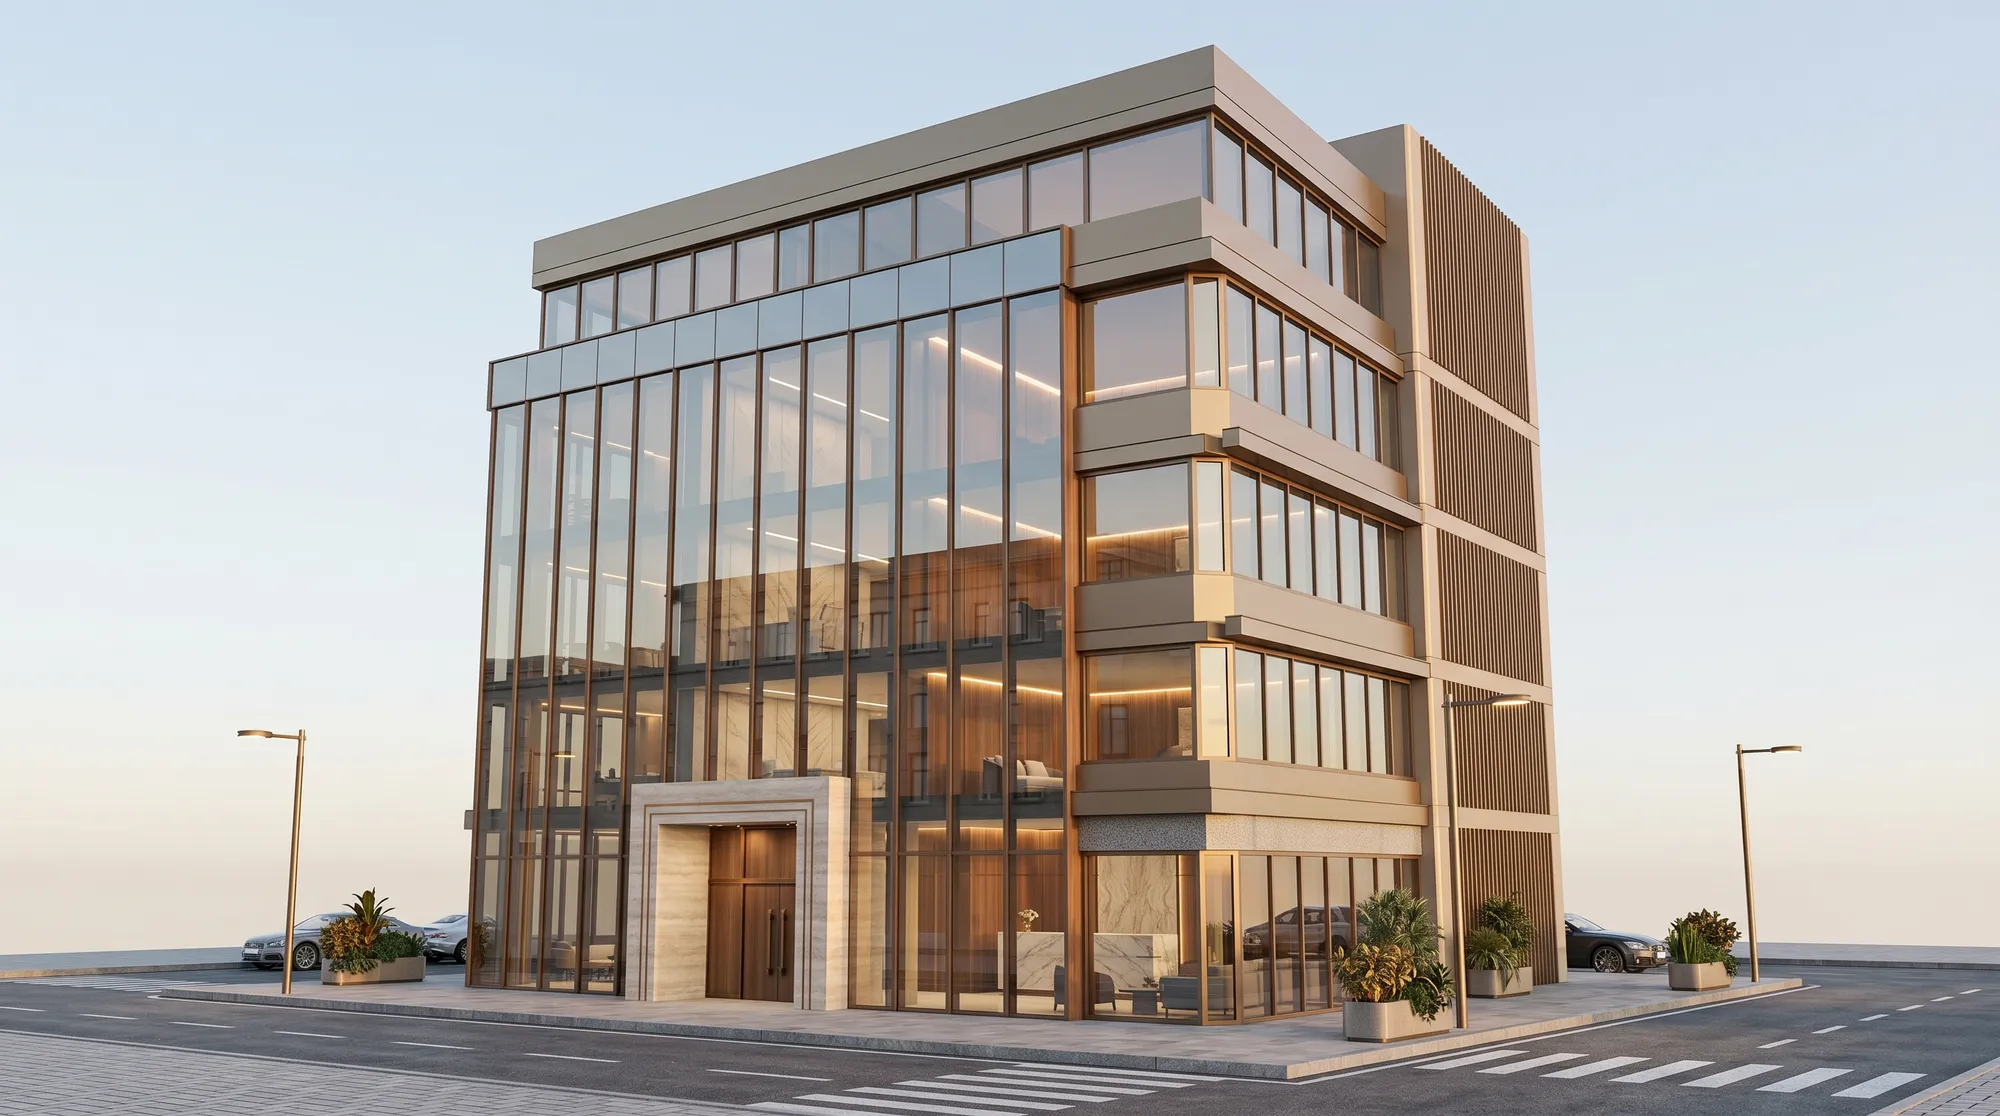
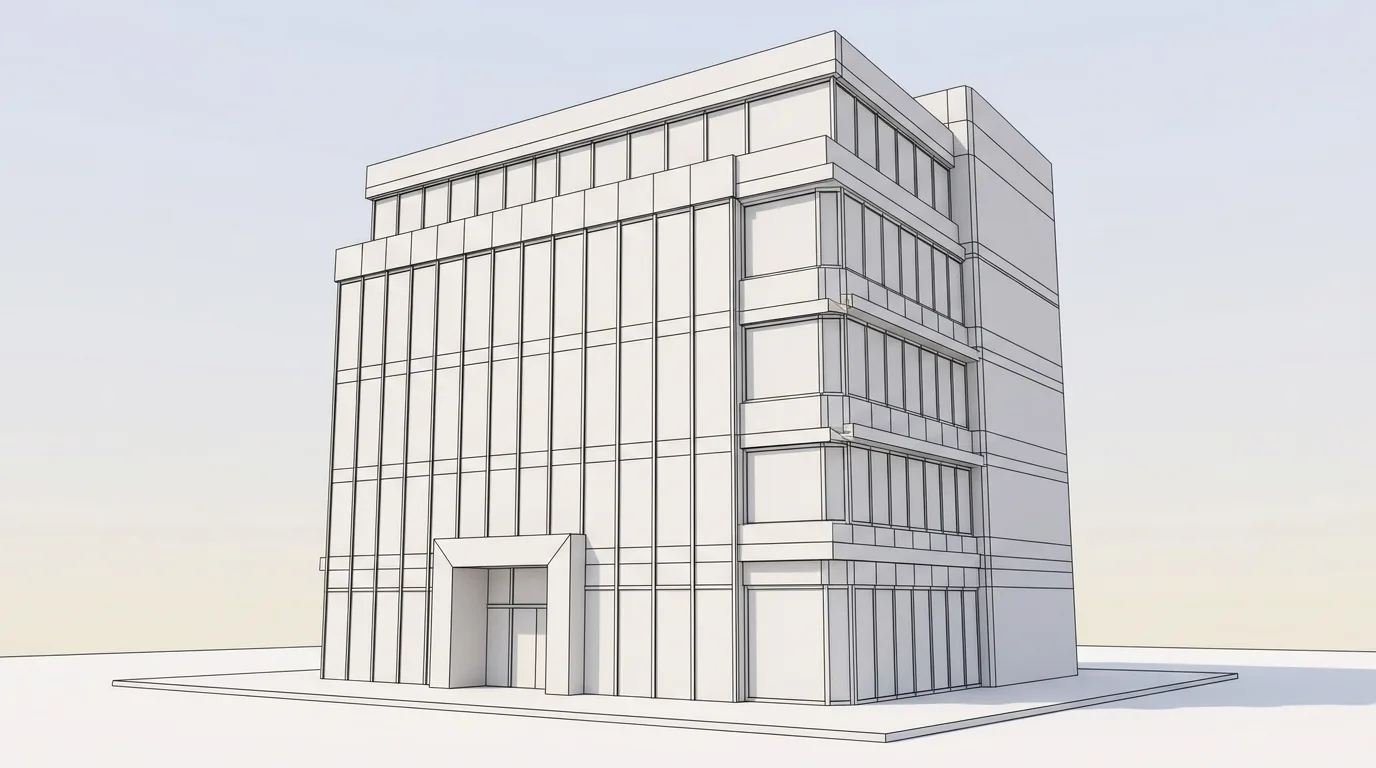
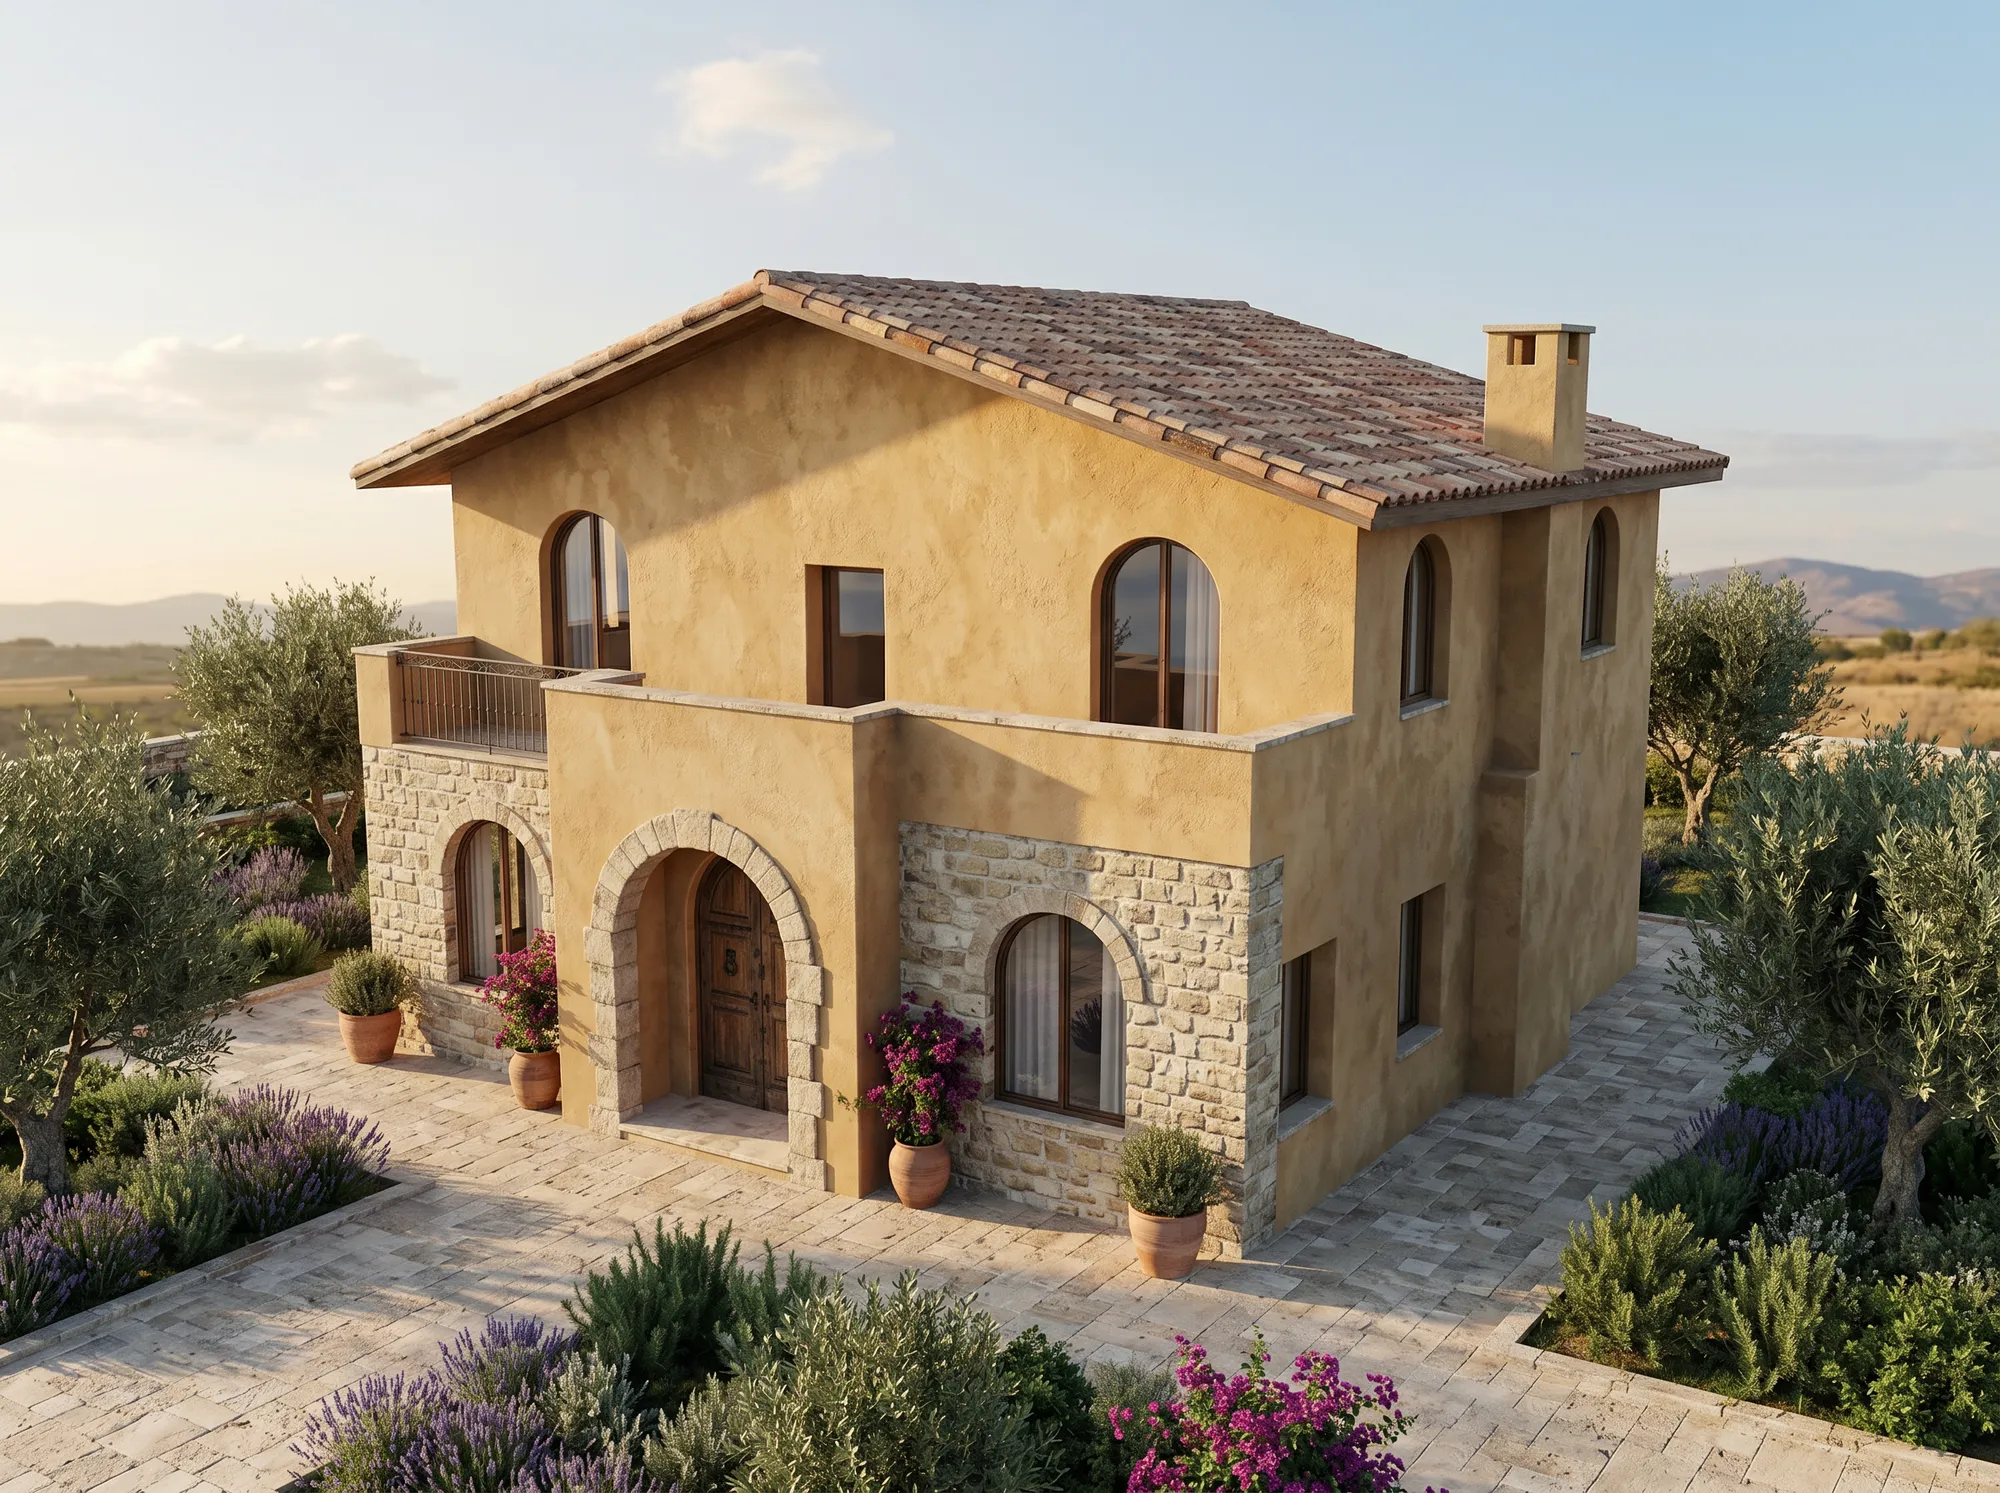
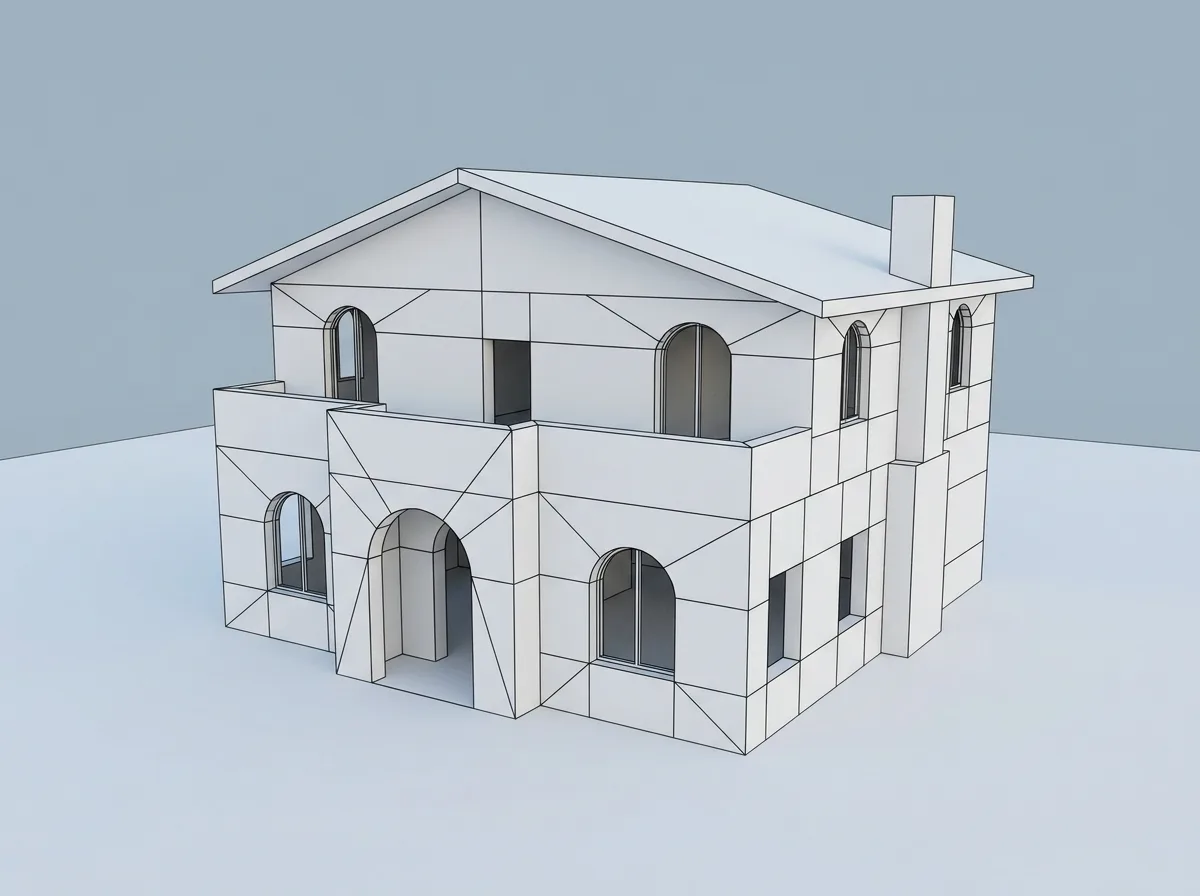
That is the target. The rest of this guide is how to hit it — and when each route is the wrong one for the job.
What "rendering" actually adds to a Revit view
Revit is a BIM tool first. Its viewport — even the Realistic visual style, which shows your materials and RPC entourage live — is built to be fast and clear while you design and document. It gives you flat lighting, crisp lines and a look that reads as "model," not "photograph." Nothing is wrong with your model; the viewport was simply never meant to look real.
Rendering is the step that adds what the viewport leaves out: materials that genuinely catch and bounce light, soft and accurate shadows, global illumination, reflections, depth, and a believable sky or interior lighting. Every method below is a different way of doing that one job — and they differ mostly in how much time, money, hardware and skill they ask of you to get there.
The six ways to render in Revit
All six in one place — including the two that already ship inside Revit, which most guides skip. Full disclosure: we make one of them, the no-plugin AI path, so expect us to be fond of it. The honest way to earn your trust is the rest of this guide: cover every real option, and be straight about where ours is not the answer.
The rest of this guide is each row, honestly. Skip to the one you are weighing — or jump to "Which method is right for you?" if you want to be pointed straight at the answer.
Method 1 — Revit's built-in renderer (Autodesk Raytracer)
This is the answer most "how to render in Revit" searches are literally asking for: the Render command that is already in the software. It runs on the Autodesk Raytracer engine, which replaced the old NVIDIA mental ray years ago (open a legacy model and Revit maps any leftover mental ray settings across to Raytracer for you). It needs no plugin and costs nothing beyond Revit itself. The workflow:
The ceiling is real, and it is why so many people keep searching after they find this method. Raytracer is slow on a large model, it leans entirely on your CPU, and its out-of-the-box look is dated next to a modern real-time or AI render. It gets you an honest in-Revit image; it rarely gets you a finished one without real time spent on materials, lighting and post.
Method 2 — Render in Cloud (Autodesk Cloud Rendering)
Revit can also hand the job to Autodesk's servers instead of your machine. From a 3D view you send the render to the cloud, keep working while it processes, and pull the finished image from your Render Gallery. The one real advantage is exactly that: it frees your PC, which matters if Raytracer brings your laptop to a crawl on a heavy model.
Be clear on the cost model, though. Cloud rendering is metered in Autodesk cloud credits — some come bundled with certain subscriptions, and you top up as you use them — so it is not "free rendering," it is rendering you pay for by the image. And because it is still the same engine era, the output looks like a cleaner, faster Method 1, not a leap to photoreal. It solves a hardware problem, not a quality one.
Method 3 — Real-time engines: Twinmotion, Enscape and D5
Real-time engines live inside your Revit workflow through a plugin and give you a lit, materialed scene you can move through live. That is their real strength — less about a single still, more about walking a client through a space or reviewing a design in motion. The three names you will actually hear:
All three want a capable GPU and a bit of a learning curve to set up materials, lighting and assets. Reach for a real-time engine when the deliverable is a walkthrough, a live review, or many views from one carefully built scene. For a single concept still under deadline, the setup is more than the job needs.
Method 4 — V-Ray for Revit: the photoreal workhorse
V-Ray is the tool the "you need a real renderer" advice is usually pointing at, and for good reason: it is the industry standard for physically accurate, fully art-directed final images. If you need a marketing hero shot with exact materials, choreographed lighting and spec-level accuracy, V-Ray for Revit and a skilled operator are hard to beat.
The honest cost is what that advice leaves out. V-Ray is a paid subscription, it wants a capable machine — a strong CPU, or a supported NVIDIA GPU if you switch on its GPU engine — and, the real expense, it takes genuine hours to set up a scene and genuine practice to get good. That is a fair trade for a final hero shot. It is overkill for a concept image you need this afternoon, which is exactly the mismatch that sends people looking for another way to render in Revit in the first place.
Method 5 — No-plugin AI rendering (the fast path to a finished render)
This is the option most "how to render in Revit" articles skip or bury, because most of them are written by plugin vendors. You do not need a plugin, a license, or a powerful computer. You export a view from Revit, upload it to a browser tool, and get a photoreal render back in about a minute — the rendering runs on the provider's hardware, so a plain laptop, or a Mac, is fine, and it works the same on any version of Revit because you are only uploading a picture of your view.
The workflow is short:
It handles interiors as readily as exteriors — the harder lighting is on the tool, not on you:
Preparing your Revit export (this is what actually breaks a render)
The single biggest cause of a disappointing result isn't the AI — it's an export that's carrying more than your building. Revit views collect chrome a SketchUp or Rhino screenshot never has to deal with, and every piece of it confuses a renderer that's trying to read your geometry:
None of this takes more than the export you were already doing — it's the same "clean view" habit good Revit documentation already asks for. The difference is that here, a stray dimension string is the difference between a usable render and a re-upload.
There is one catch worth naming, because the people selling renders rarely do: faithfulness. Revit's whole value is that its geometry is exact — so an AI render that quietly redraws it undoes the one thing your model guarantees. A convincing image can still add a floor, nudge a mullion, or invent a material the client will hold you to. Faithful, image-to-image mode keeps that drift low by working from your view instead of a text prompt, but nothing is perfect, so check the render against your model before it goes out. That single check is what separates a render that earns trust from one that quietly erodes it — the whole question behind whether an AI render is good enough to show a client.
Method 6 — Outsource to a rendering studio
If you have no time and no in-house rendering capacity, you can hand a model or a brief to a studio and get back a polished, exact image built by a human. Expect days to weeks of turnaround, and anywhere from a freelancer's modest fee to several hundred dollars and up per image, depending on complexity. It is the right call for a high-stakes final when you cannot spare the hours and the budget is there — and the slowest, priciest option for everything else.
Which method is right for you?
Strip away the vendor pitches and it comes down to what you are making:
None of this is a single winner-take-all choice, and treating it as one is the mistake. Most firms run two or three: a fast AI render for the daily concept and iteration work, the built-in renderer or Twinmotion for quick in-house checks, and V-Ray or a studio for the rare final that has to be perfect. Match the tool to the moment, not to a forum argument.
The 60-second check before it goes to a client
This matters more for Revit than for almost any other modeling tool, because a BIM model's whole value is that its geometry is exact — a render that quietly drifts from it undoes the one thing your model guarantees. Whichever method you used, run this before an exterior or interior render leaves your inbox:
That last question is the one worth sitting with. For a deeper look at what "good enough to send" means for different kinds of Revit work, see is AI architectural rendering good enough to show clients?
How to make any Revit render look realistic
Whatever method you land on, the same handful of habits separate a convincing image from an obviously computer-made one:
The only test that matters: your own model
No guide can pick the method that fits your work — your projects, your clients, your bar for what ships. The only reliable test is to run a real Revit view through the fast path and judge from what comes back. Export a view of your own model and get a photoreal render — built from your geometry, not a loose AI reinterpretation of it — in about a minute. Three free previews, no card, no plugin.
Working in another tool? See how to render in SketchUp or the full picture of AI architectural rendering.
Frequently asked questions
Does Revit have a built-in renderer?
Yes. Revit includes a Render command powered by the Autodesk Raytracer engine (which replaced the older NVIDIA mental ray), plus a Render in Cloud option that offloads the work to Autodesk's servers using cloud credits. Both are already in the software — no plugin needed. They are genuinely useful for an in-house check; they are also slower and more dated-looking than a modern real-time, AI or V-Ray render.
How do I render in Revit?
Set up a perspective (camera) view, open View tab - Render or press RR, choose a quality level, a lighting
scheme and a background, then click Render and save or export the image. Use a low quality for test passes
and Best only for the final, since the Raytracer engine is CPU-bound and higher settings mean longer renders.
How do I render in Revit without Enscape?
You have several options. Revit's own Render command and Render in Cloud need no plugin at all. Twinmotion is free for Revit subscribers if you want a real-time engine. And for a fast, finished still with nothing to install, a browser AI tool renders an exported Revit view in about a minute on any machine. Enscape is one good option, not the only one.
Is Twinmotion free for Revit?
For most Revit users, yes — as of 2026. Twinmotion for Revit is free for Revit subscribers in good standing with Autodesk, and Twinmotion is free for companies under $1M in annual revenue as well as for students and hobbyists. Paid seats at $445/year apply above that revenue threshold, or if you want Twinmotion Cloud, which the free version never includes. Otherwise the free version has no watermark and no resolution limit. Epic has been adjusting Twinmotion licensing, so confirm the current terms before relying on them.
Why is my Revit render so slow?
The built-in Autodesk Raytracer runs on your CPU, so render time climbs fast with resolution, quality level, scene complexity and lighting. Test at a low quality and only push to Best for the final, or send the job to Render in Cloud to free your machine. Cloud AI rendering sidesteps the problem entirely, since it runs on the provider's hardware and returns an image in about a minute.
Do I need a powerful computer or GPU to render in Revit?
For the built-in Raytracer, a faster CPU helps. The real-time engines — Enscape, Twinmotion and D5 — do want a capable GPU; V-Ray can render on your CPU or a GPU, so a strong CPU works there too. For cloud AI rendering, none of that applies — the work runs on the provider's hardware, so it renders fine from an ordinary laptop or a Mac with no dedicated graphics card, which is one of its practical advantages.
Will an AI render change my Revit geometry?
It can — a tool that leans on a text prompt, or reads your image loosely, may add a floor or shift a window. That matters more coming from Revit than from most tools, since your BIM geometry is meant to be exact. An image-to-image tool with Preserve design — or Advanced fidelity set to Faithful — holds your massing, openings and camera to what you modeled; even so, compare the render against your view before you present it.
How much does it cost to render in Revit?
The built-in Raytracer is free with Revit; Render in Cloud is metered in Autodesk cloud credits. Real-time engines range from free (Twinmotion for Revit subscribers) to a paid subscription (Enscape, D5 Pro); V-Ray is a paid subscription. A no-plugin AI tool like Airender is free to start — three previews, no credit card, each watermarked and capped at 2K — then from $24/month for full-resolution, watermark-free renders, which is a fraction of what a plugin license or a studio costs.