Short answer: SketchUp has no true photoreal renderer built in, so you do need something on top of it — but the old rule that the something has to be V-Ray, a plugin, and a gaming PC is out of date. Today there are about six real ways to render in SketchUp, from free tricks that need nothing but SketchUp itself to a browser tool that turns a screenshot into a photoreal image in about a minute. If you just want a finished image fast: screenshot your view, upload it to a browser AI tool, done in about a minute. If you want to know why, and when the other five paths beat it, here is the honest map of all six — with real before/afters and a plain answer to which one you should use.
See it first: a SketchUp model, rendered
Before any method talk, look at the actual result. Each of these starts from an ordinary working view — the kind of flat, hard-edged screenshot you already have — and ends at a photoreal image. Drag the slider: the massing, window positions and camera do not move; only light, materials and context get added.
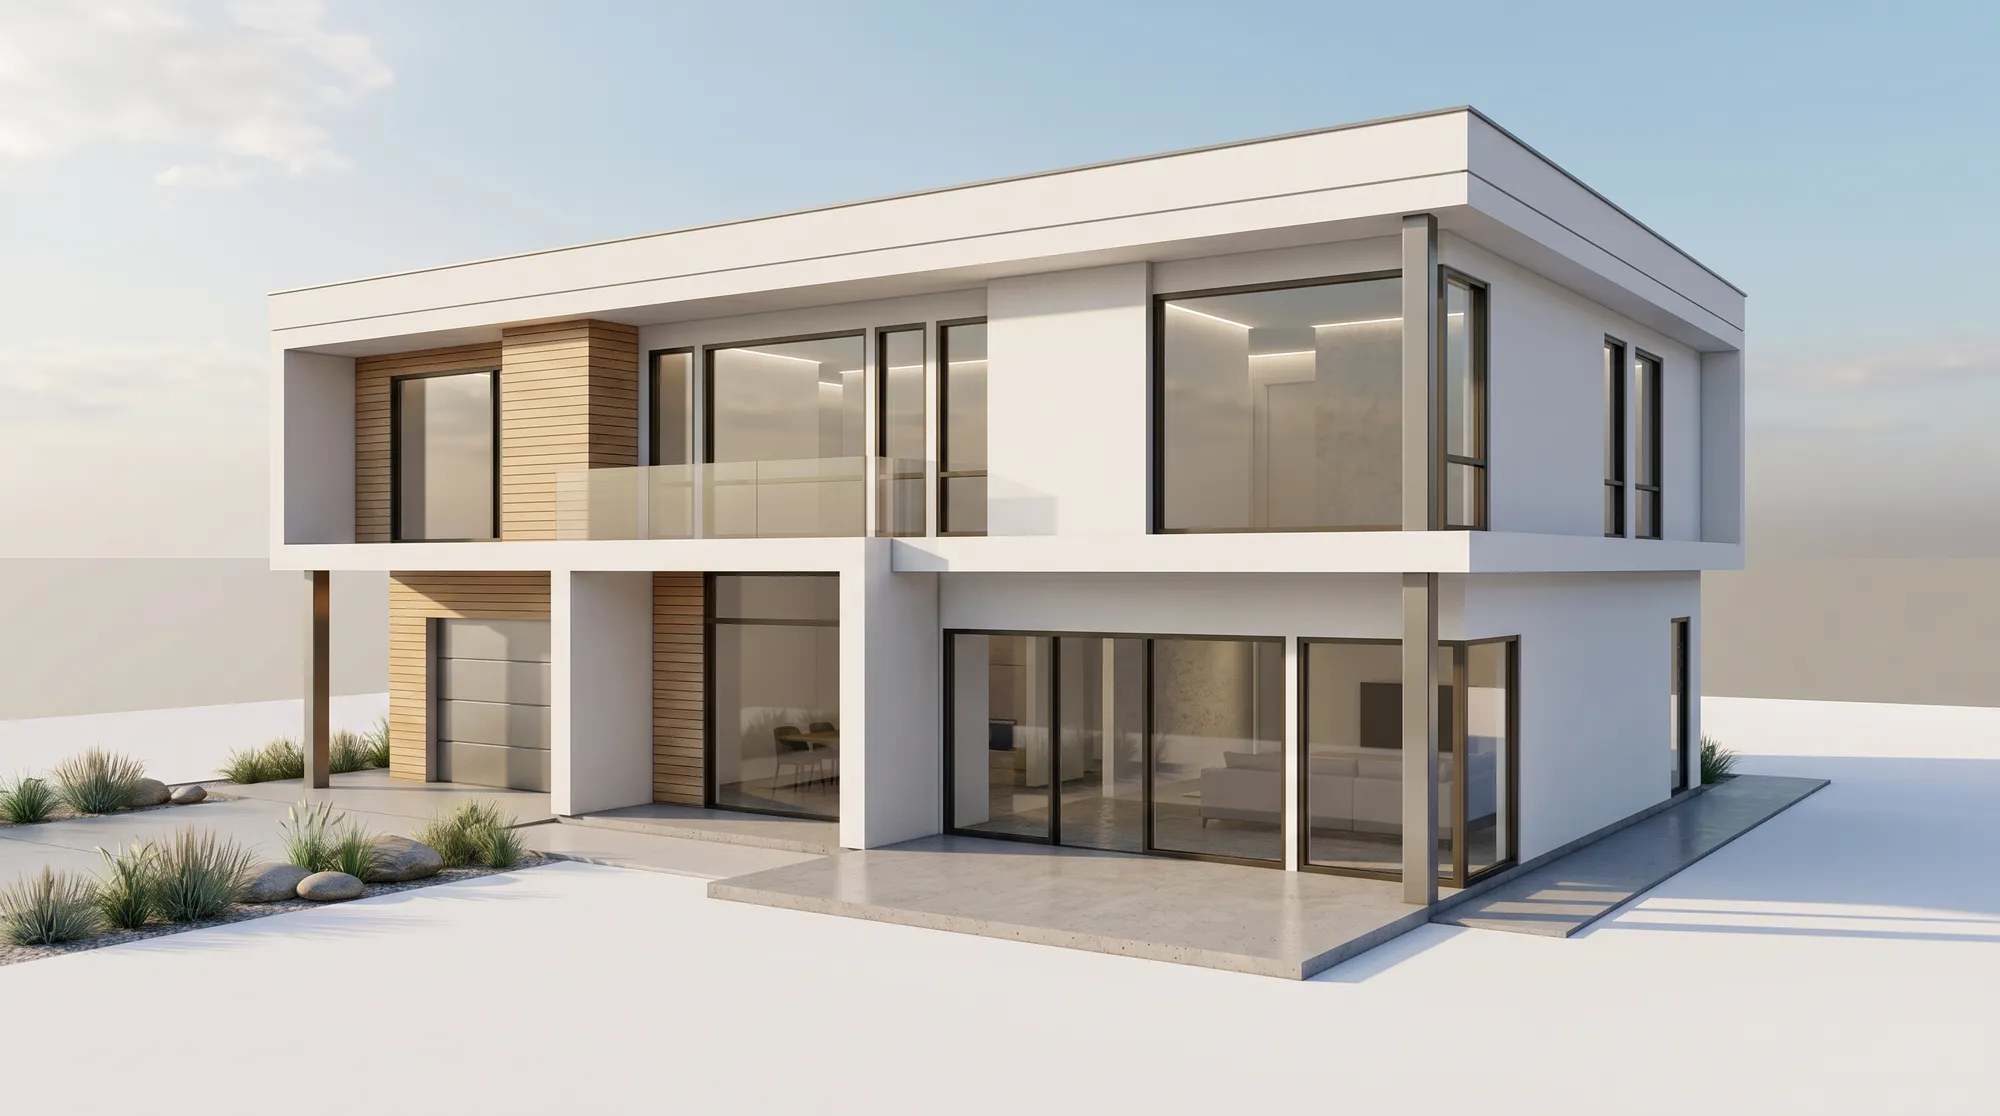
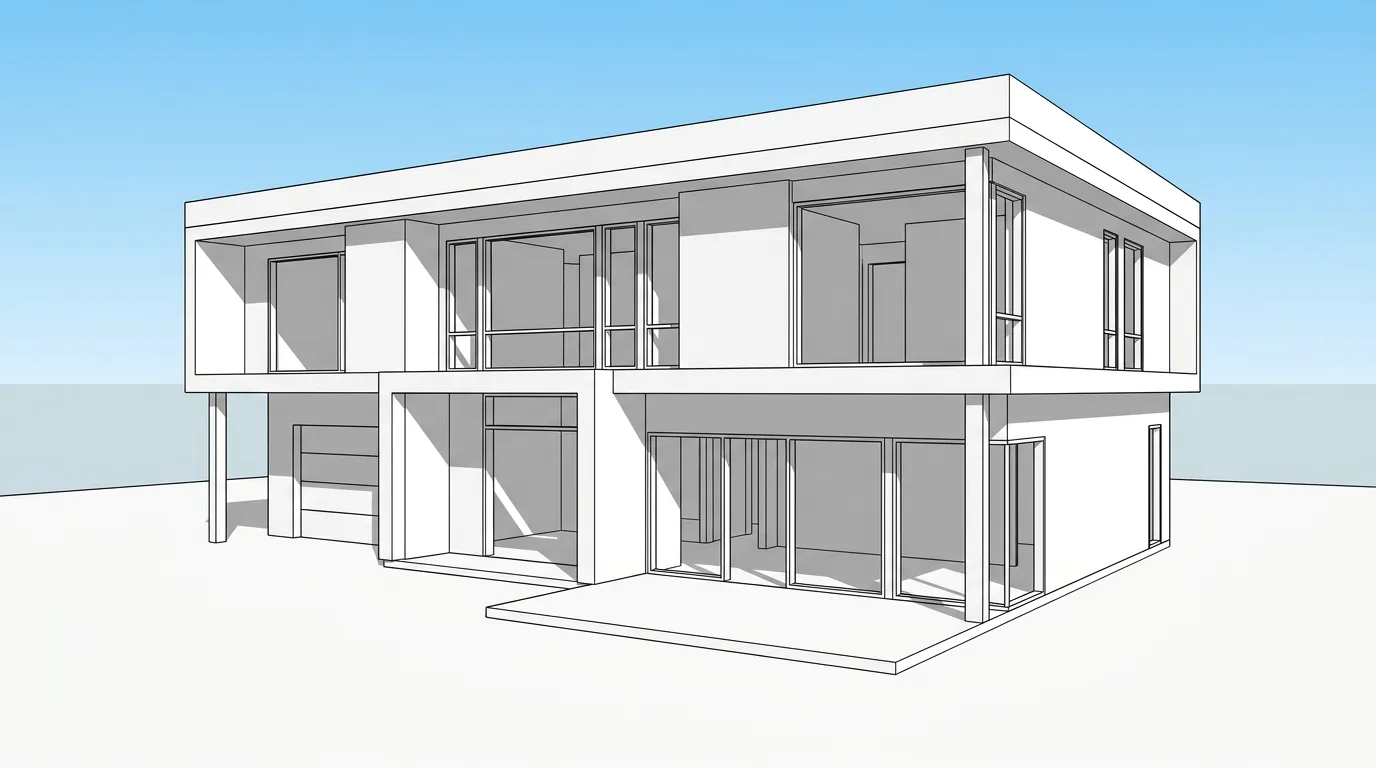
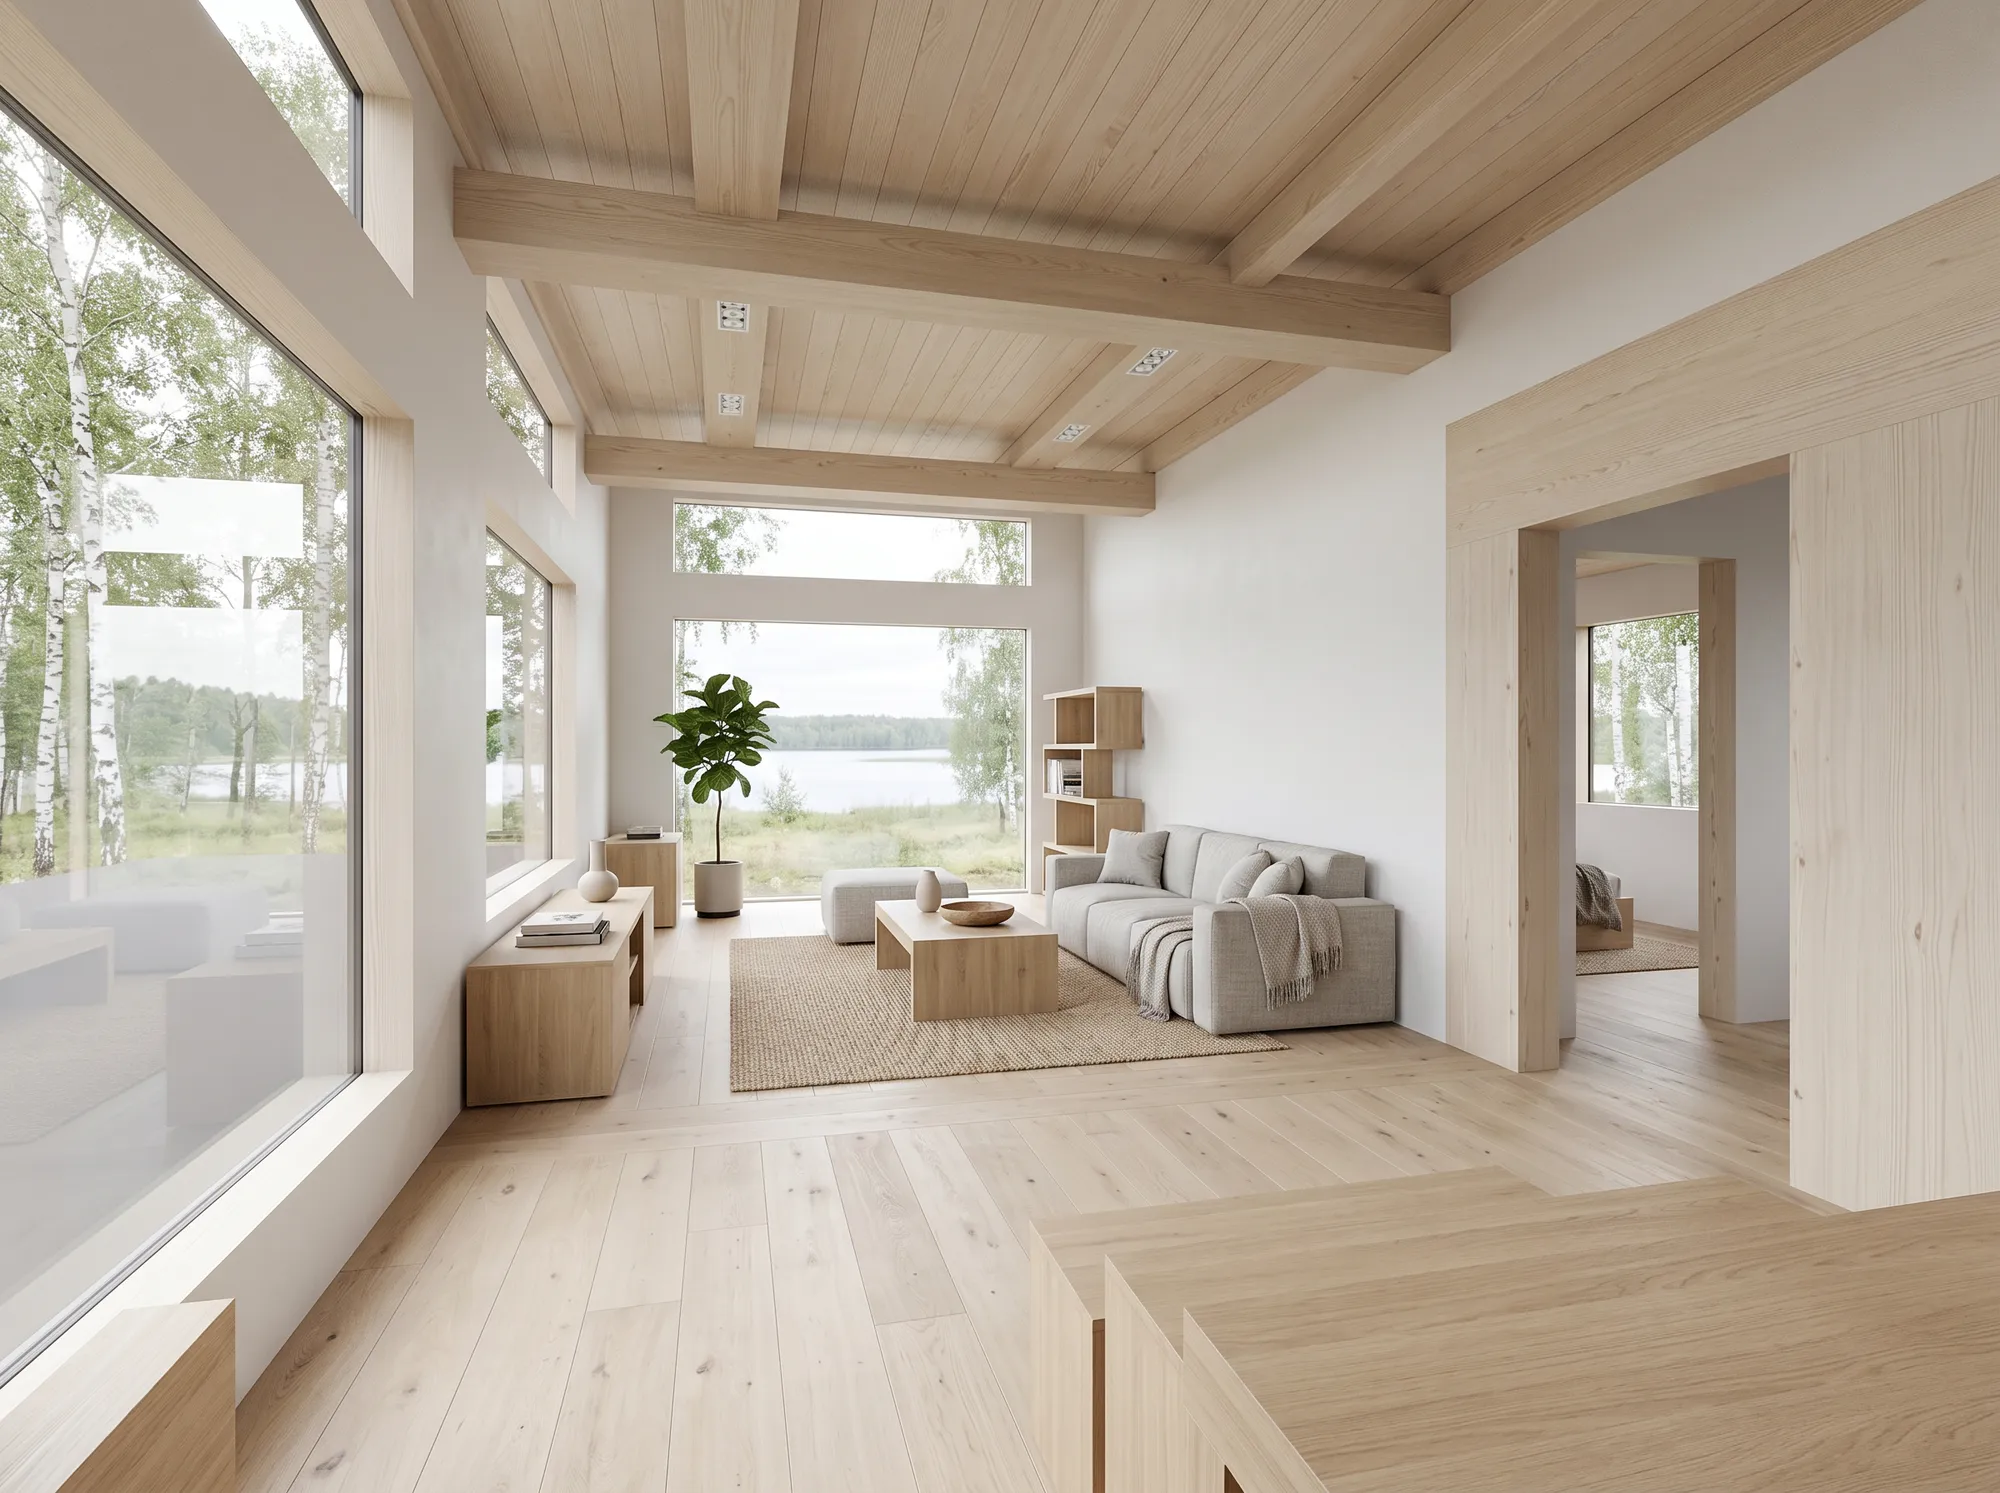
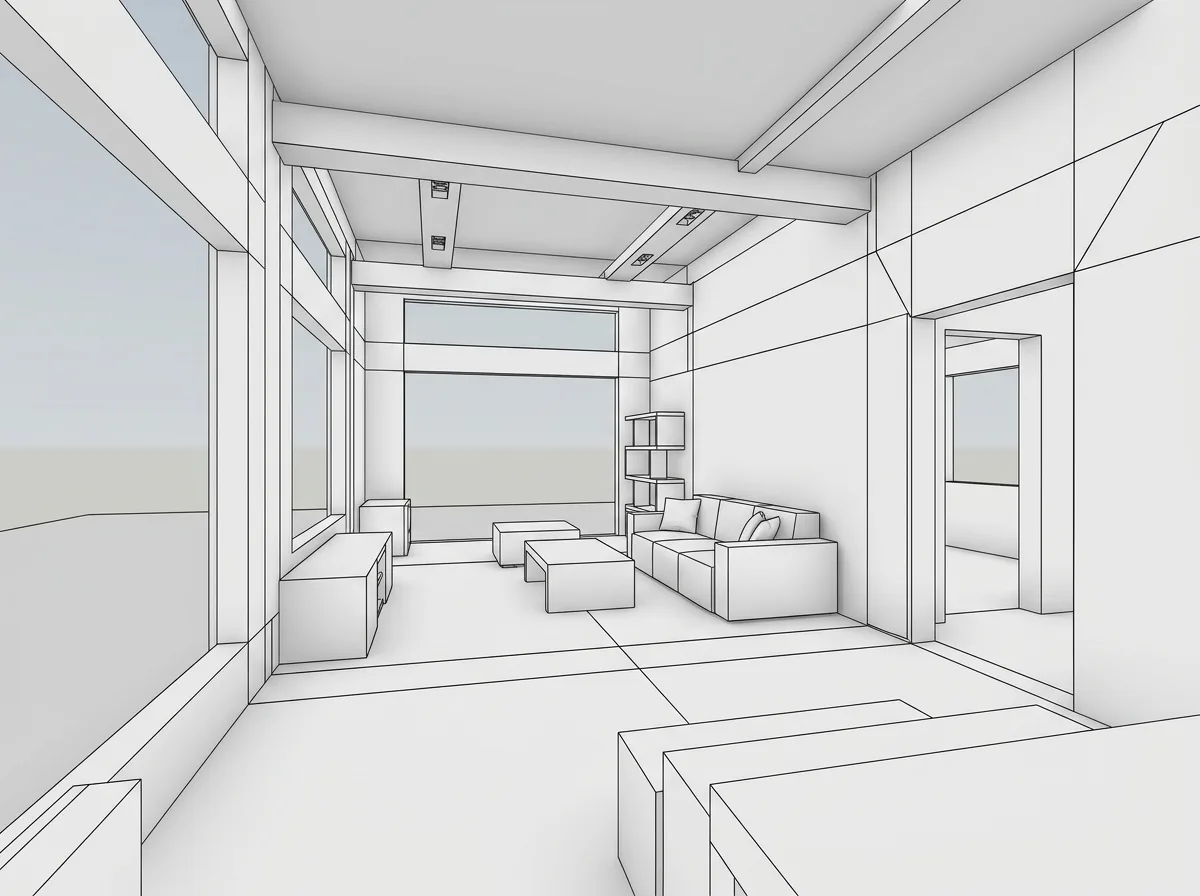
That is the bar we are aiming at. Now, the ways to get there.
Why a SketchUp model looks flat (and what "rendering" actually fixes)
SketchUp is a modeler, not a renderer. Its viewport is built to be fast and clear while you design, so it shows flat-shaded faces, hard edges and a single simple shadow — perfect for working, unconvincing for a client. Nothing is wrong with your model; it is just that the viewport was never meant to look real.
Rendering is the step that adds what the viewport leaves out: real materials that catch light, soft and accurate shadows, reflections, depth, and a believable sky or interior lighting. Every method below is just a different way of doing that one job — and they differ mostly in how much time, money, hardware and skill they ask of you to do it.
The six ways to render in SketchUp
Here is the whole landscape in one place. Full disclosure: we make one of these — the no-plugin AI path — so you should expect us to like it. What follows tries to earn your trust the honest way instead: by covering every real option and being straight about where ours is not the answer.
The rest of this guide is just each row, honestly. Skip to the one you are weighing — or read "Which method is right for you?" below if you want to be pointed straight at the answer.
Method 1 — Native SketchUp: styles, shadows, no plugins
You can get a surprisingly presentable image out of SketchUp with zero plugins, and it costs nothing — in any version, including SketchUp Free. It is not photoreal, but for an early concept or a study sheet it can be enough. The moves that matter:
The ceiling is real, though: native SketchUp cannot do true reflections, soft global-illumination lighting, or convincing materials. It gets you a clean, honest study image — not something that reads as a photograph. When you need that jump, you move up the list.
Method 2 — SketchUp Diffusion (the built-in AI)
Trimble ships an AI feature inside SketchUp itself: you frame a view, give it a text prompt, and it generates a styled image based on that view. It is genuinely quick, and for a fast mood or concept image it is a good first taste of AI rendering with nothing to install. One thing to be clear about, since the word "free" gets thrown around: Diffusion is part of the paid SketchUp plans (Go, Pro, Studio) — the free web version does not include it — and it runs on a monthly credit allowance, so it is metered rather than unlimited.
Where it also runs out of room is control and output. Because it leans on a text prompt, it can wander from your design, and you get limited say over resolution, style range and how tightly it holds your geometry — plus you should check its commercial terms before putting an image in a paid proposal. As a built-in, it is a nice step up from Method 1. Most client-facing work outgrows it, which is where a dedicated tool comes in.
Method 3 — No-plugin AI rendering (the fast path to a finished render)
This is the option most "how to render in SketchUp" articles bury, because most of them are written by plugin vendors. You do not need a plugin, a license, or a powerful computer — which also makes it the only route if you are on SketchUp Free or SketchUp for Web, where you cannot install a rendering plugin at all. You take a screenshot of your SketchUp view, upload it to a browser tool, and get a photoreal render back in about a minute — the rendering runs on the provider's hardware, so a plain laptop is fine.
The workflow is short:
Even a rough massing screenshot is a valid input — you do not need a finished, textured model first:
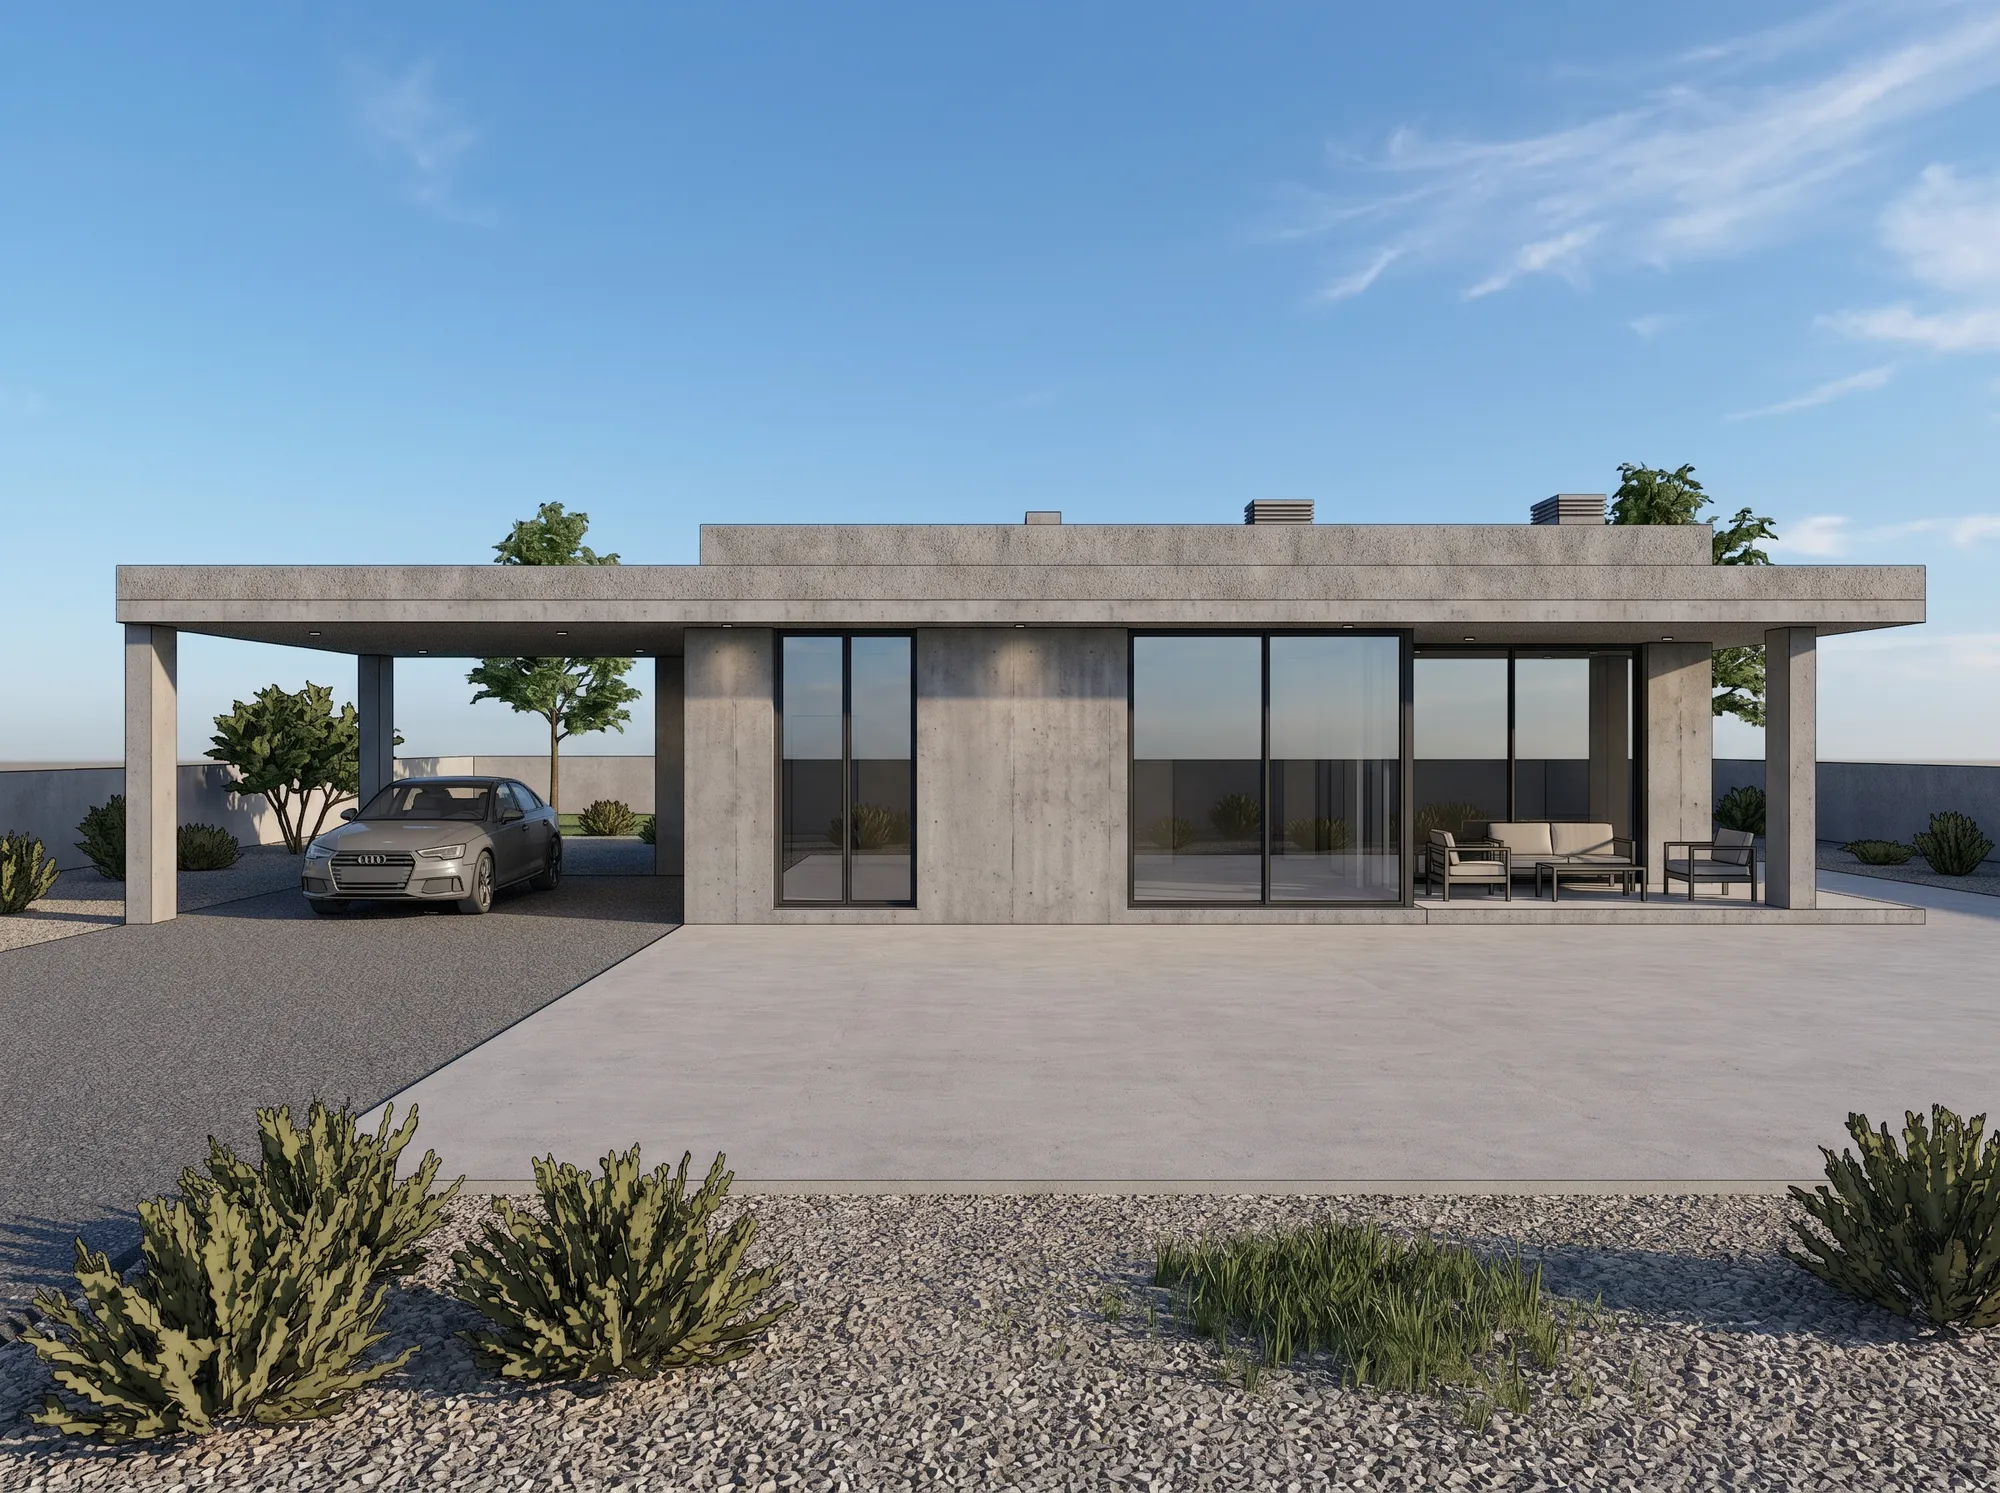
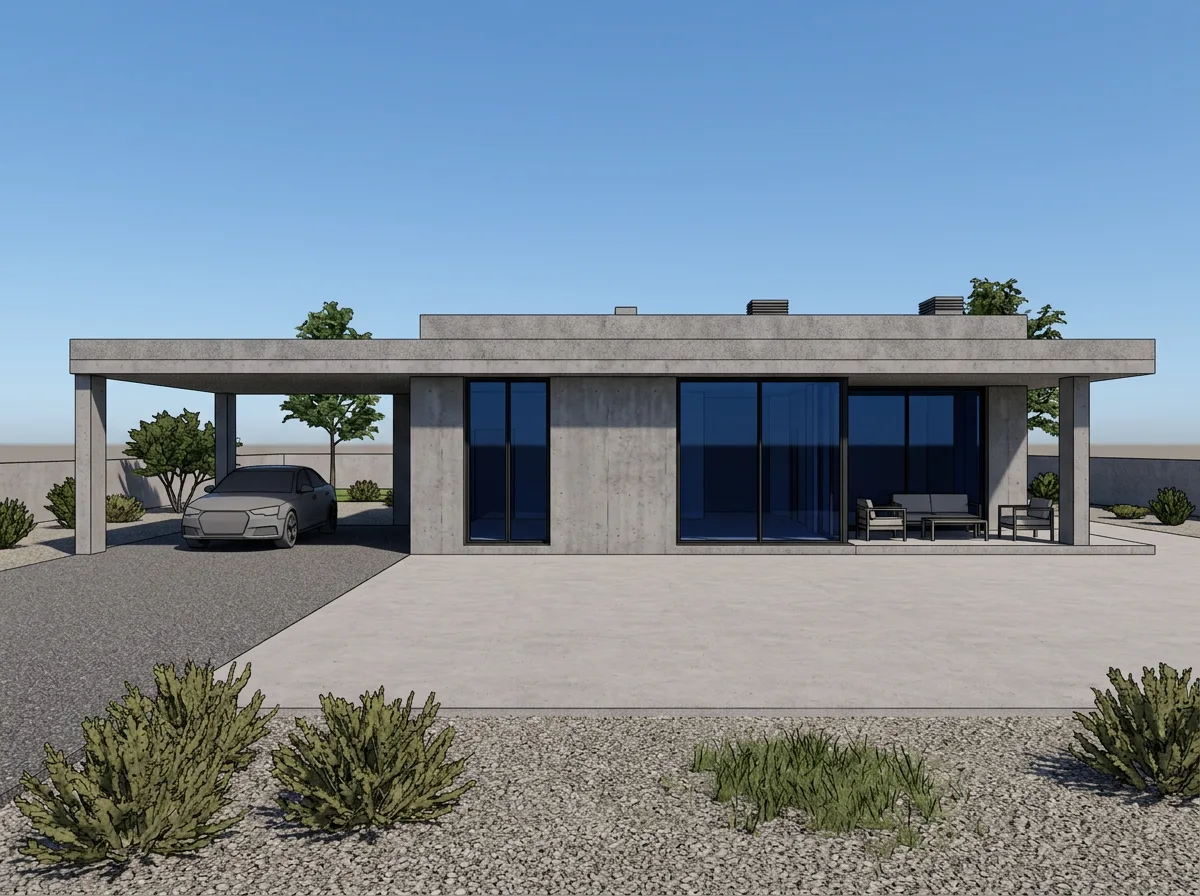
The one caution — and it is the caution nobody selling you a render mentions — is faithfulness. An AI render can look completely convincing while quietly changing your building: an extra floor, a window that moved, a material the client will now expect. A model-aware, image-to-image tool with Preserve design — or Advanced fidelity set to Faithful — keeps that drift very low, but no tool is perfect, so glance the render against your model before it ships. That one check is the difference between a render that builds trust and one that quietly costs it — it is the whole subject of whether an AI render is good enough to show a client.
Method 4 — Real-time engines: Enscape and D5
Real-time engines like Enscape and D5 Render live inside your SketchUp workflow through a plugin and give you a lit, materialed view you can move through live. This is their real strength: they are less about a single still and more about walking a client through a space, or reviewing a design in motion. D5 has a free tier — but it is for learning and personal, non-commercial use (watermarked, resolution-capped), so client work means its paid plan; Enscape is subscription only. Both want a capable GPU and a bit of a learning curve to set up materials, lighting and assets.
Reach for a real-time engine when the deliverable is a walkthrough, a live design review, or a set of many views from one carefully built scene. For a single concept still under deadline, the setup cost is more than the job needs.
Method 5 — V-Ray: the photoreal workhorse (and when it is overkill)
V-Ray is the tool the "you need V-Ray" advice is pointing at, and for good reason: it is the industry standard for physically accurate, fully art-directed final images. If you need a marketing hero shot with exact materials, choreographed lighting and spec-level accuracy, V-Ray and a skilled operator are hard to beat.
The honest cost is what the advice leaves out. V-Ray is a paid license, it wants a strong GPU or CPU, and — the real expense — it takes genuine hours to set up a scene and genuine practice to get good. That is a fair trade for a final hero shot. It is overkill for a concept image you need this afternoon, which is exactly the mismatch that sends people looking for another way to render in SketchUp in the first place.
Method 6 — Outsource to a rendering studio
If you have no time and no in-house rendering capacity, you can hand a model or a brief to a studio and get back a polished, exact image built by a human. Expect days to weeks of turnaround, and anywhere from a freelancer's modest fee to several hundred dollars and up per image, depending on complexity. It is the right call for a high-stakes final when you cannot spare the hours and the budget is there — and the slowest, priciest option for everything else.
Which method is right for you?
Strip away the vendor pitches and it comes down to what you are making:
The trap is treating this as one winner-take-all choice. Most firms end up using two or three: a fast AI render for the daily concept and iteration work, and V-Ray or a studio for the rare final that has to be perfect. Match the tool to the moment, not to a forum argument.
How to make any SketchUp render look realistic
Whatever method you land on, the same handful of habits separate a convincing image from an obviously computer-made one:
The only test that matters: your own model
No guide can tell you which method fits your work — your projects, your clients, your standard. The one reliable test is to run a real SketchUp screenshot through the fast path and judge from what comes back. Upload a view of your own model and get a photoreal render — built from your geometry, not a loose AI reinterpretation of it — in about a minute. Three free previews, no card, no plugin.
Working in Revit instead? See how to render in Revit or the Revit rendering tool — or the full picture of AI architectural rendering.
Frequently asked questions
How do I make a SketchUp render look realistic?
Start from a clean, well-composed view, use real materials and a sensible sun or interior light, upgrade your trees and people, and render at HD 4K or Ultra 5K. Realism is mostly plausible light plus enough resolution — not a single magic setting. A no-plugin AI render handles the light and materials for you, so your main job is a good input and a quick faithfulness check.
Can I render a SketchUp model without any plugins?
Yes, two ways. For a free study image, use SketchUp's own display settings — turn off edges, turn on shadows, set the sun, and use a two-point perspective. For a photoreal result with no plugin, upload a screenshot to a browser-based AI tool, which renders on its own hardware and hands you an image in about a minute.
Does SketchUp have a built-in renderer?
Not a traditional photoreal one. SketchUp's viewport and styles are for working, and LayOut is for documentation. It does include SketchUp Diffusion, an AI feature on the paid plans that turns your view plus a text prompt into a styled image. For photoreal output you use Diffusion, a plugin like V-Ray or Enscape, or a web AI tool.
How do I render in SketchUp for free?
Native styles and shadows cost nothing and work in every version, including SketchUp Free — that is the one truly free path. (SketchUp Diffusion is not it: it needs a paid SketchUp plan and is credit-limited.) For a free photoreal result, AI tools like Airender are free to start — three previews, no credit card, each watermarked and capped at 2K — which is the quickest way to see a real result at no cost.
How long does it take to render a SketchUp model?
It depends on the method. Native styles are instant but limited. A no-plugin AI render takes about a minute. Real-time engines are interactive once set up. V-Ray runs from a couple of minutes to a few hours depending on the scene and your hardware. Outsourcing takes days to weeks.
What are the best rendering plugins for SketchUp?
For real-time work, Enscape and D5 Render are the common choices; for spec-accurate final images, V-Ray is the standard. But the honest answer is that you may not need a plugin at all — if your goal is a fast, polished concept render, a browser AI tool does the job with nothing to install.
Do I need a powerful computer or GPU to render SketchUp?
For plugins like V-Ray and Enscape, yes — they want a capable GPU. For cloud AI rendering, no. The work runs on the provider's hardware, so it renders fine from an ordinary laptop with no dedicated graphics card, which is one of its practical advantages.
Will an AI render change my SketchUp geometry?
It can, if the tool works from a text prompt or treats your image loosely — an added floor or a moved window is a real failure mode. A model-aware, image-to-image tool with Preserve design — or Advanced fidelity set to Faithful — keeps your massing, openings and camera as modeled. Even then, glance the render against your model before you present it.