Short answer: if all you need is one convincing image of a room to show a client — not a lit, walkable scene — you don't have to light it yourself. Open the interior view you already have (a SketchUp screenshot, a Revit export, even a flat white model) as a Studio session, choose Preserve design beside the canvas, and you get a photoreal room in about a minute. If you're building a scene for a walkthrough, matching real fixture specs, or producing a final marketing shot, you still need to light it properly — that part hasn't changed. Here's the honest version of both paths, with real before/afters, so you can tell which one your next deadline actually needs.
See it first: an unlit interior, rendered
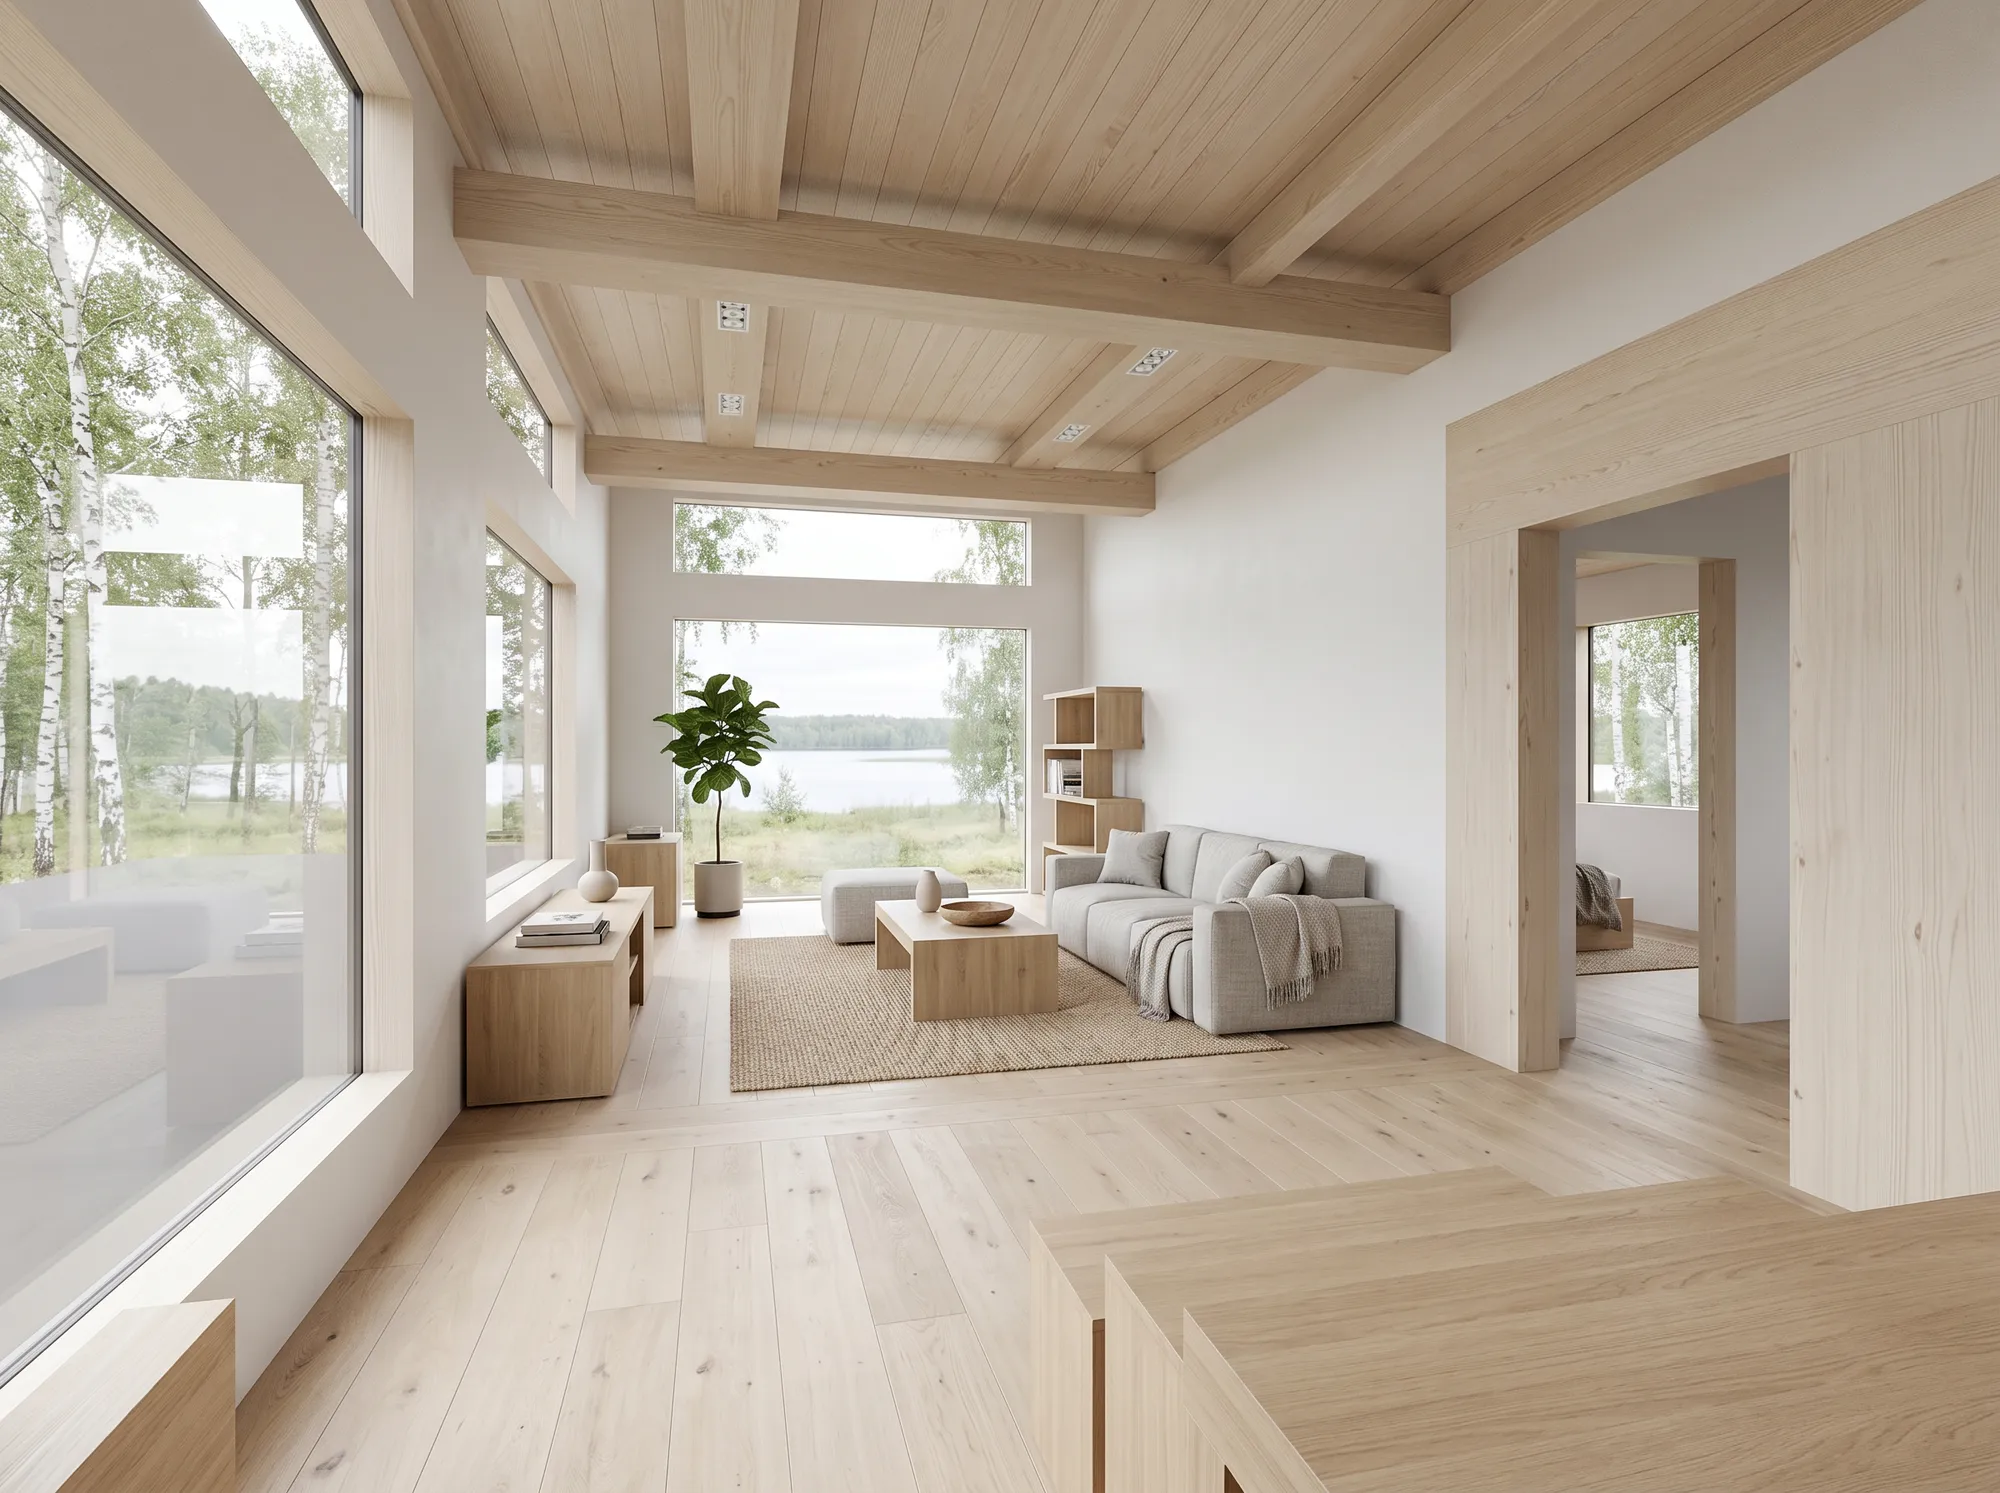
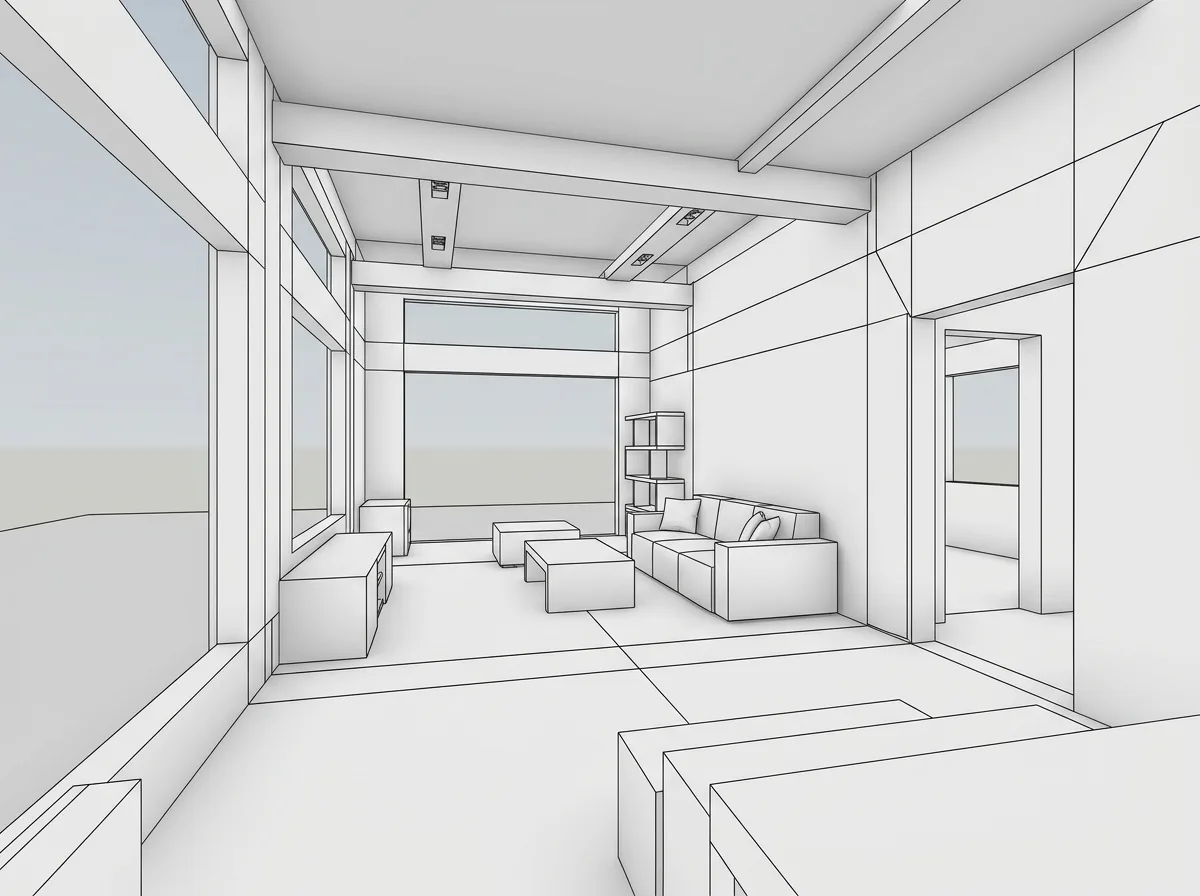
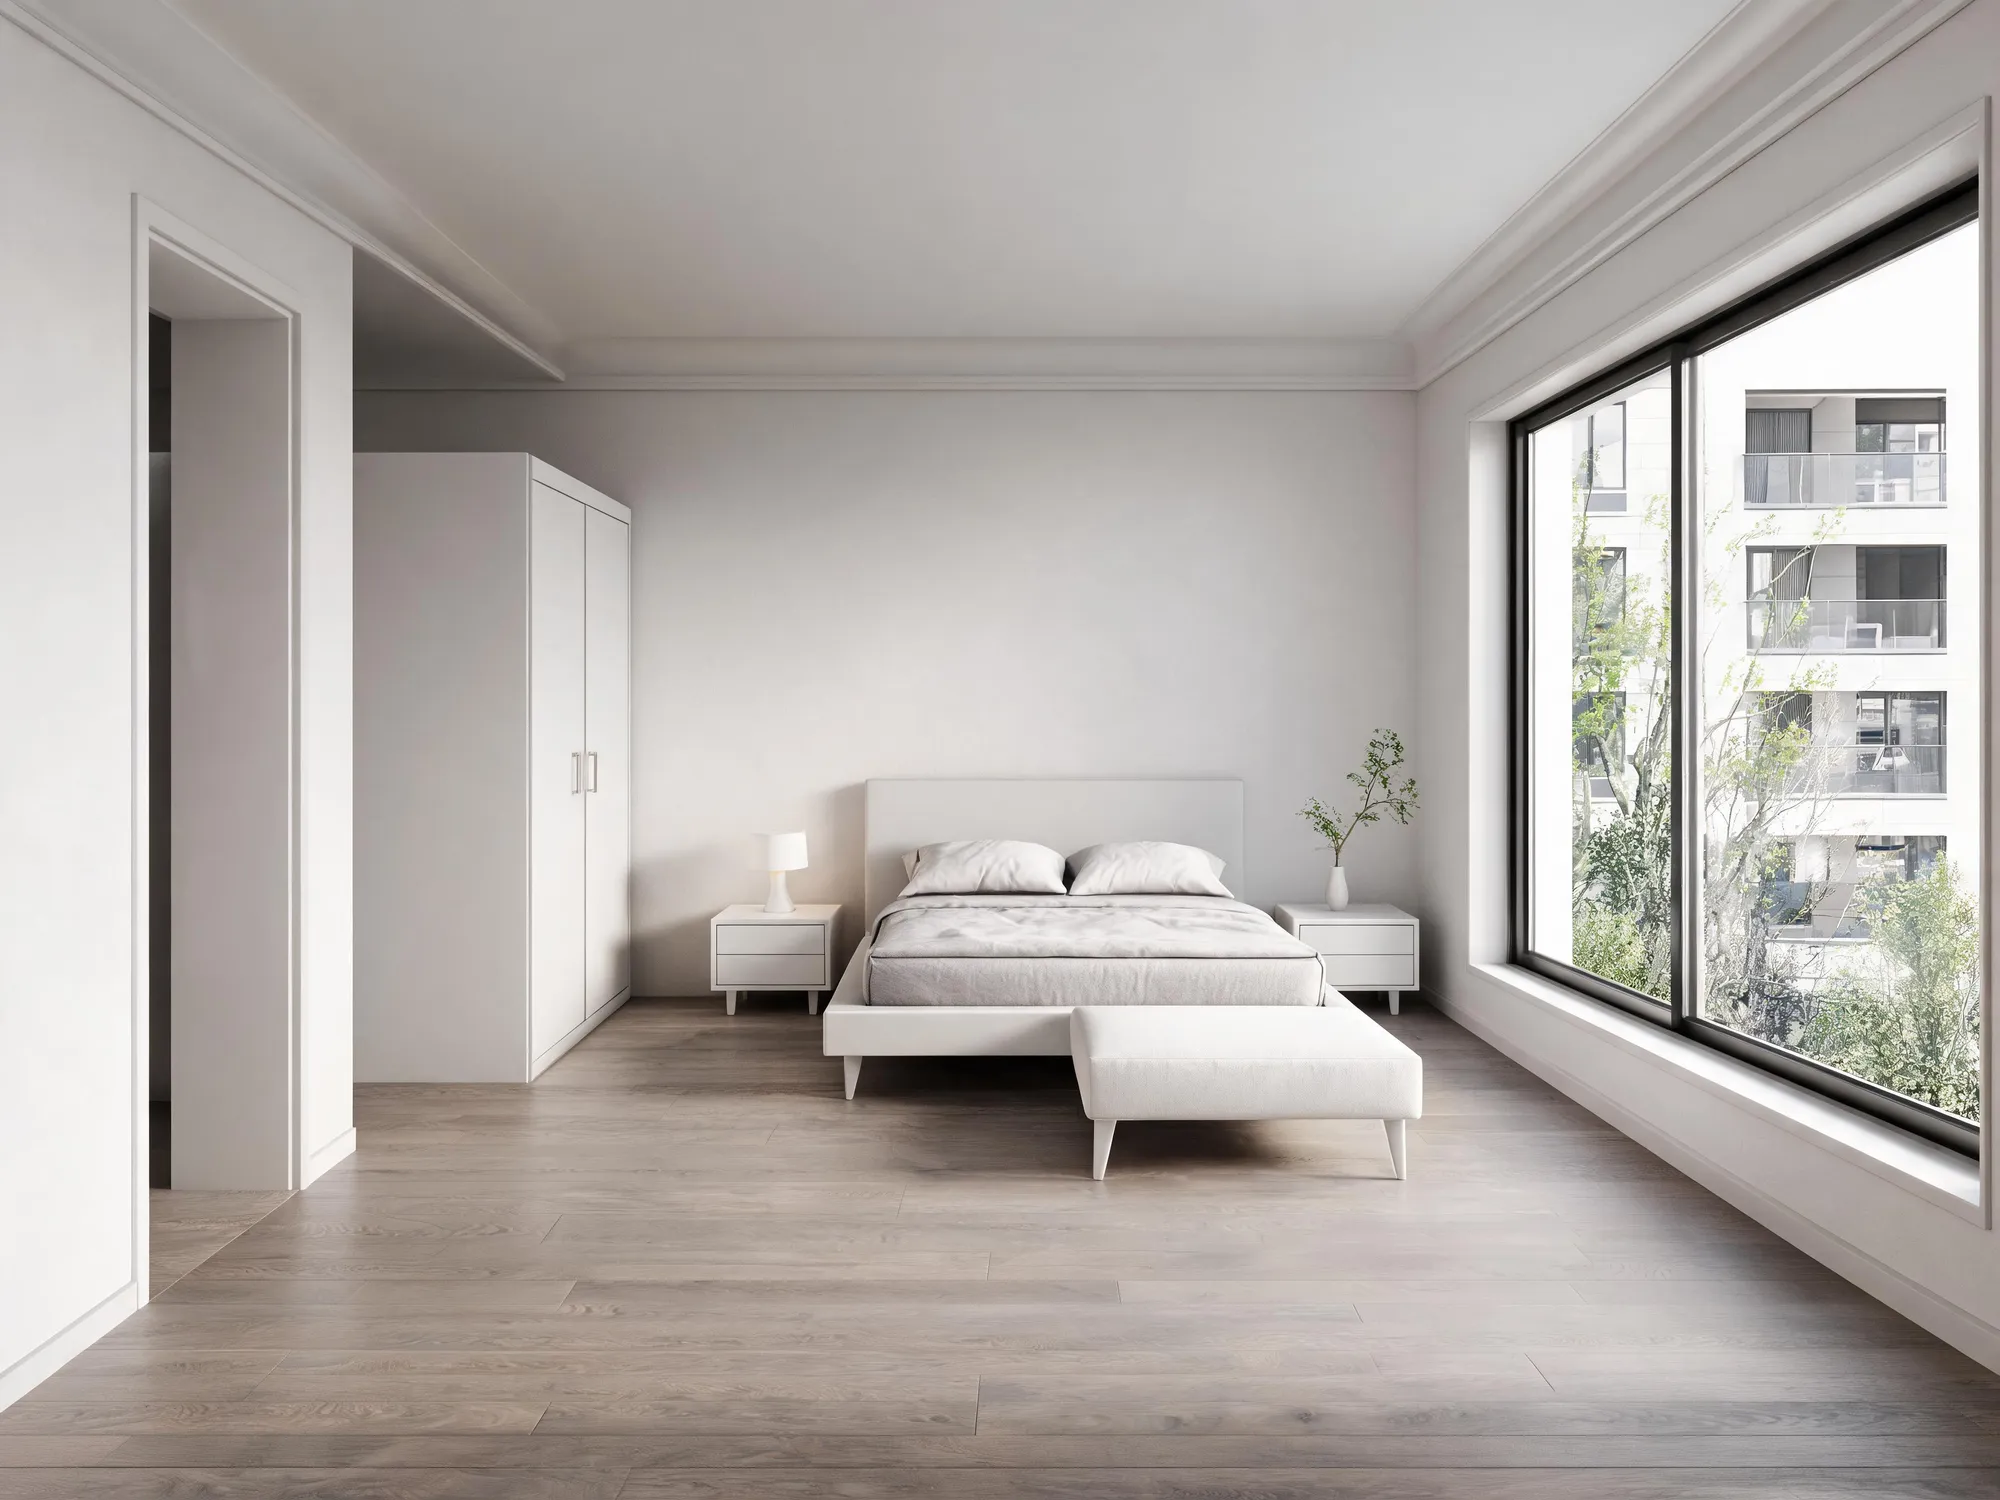
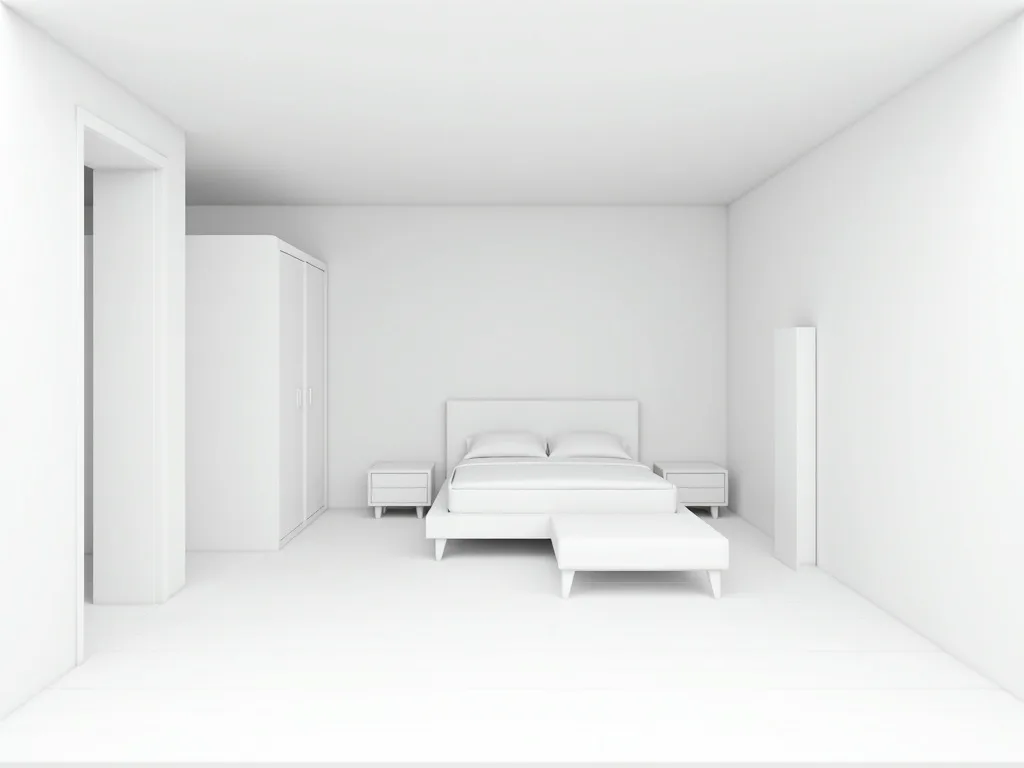
That's a plain interior view — no light rig, no material pass — turned into something you'd actually put in front of a client. The room on the left didn't get relit and re-textured by hand; it went through an AI renderer that reads the existing geometry and adds the rest.
Why interior renders eat so much more time than exterior ones
Ask anyone who's rendered both, and the honest answer is the same: exteriors have the sun. Interiors have you.
A person modeling a house exterior in SketchUp gets daylight for free — one sun angle, one sky, and the shell of the building does most of the work. An interior has none of that. Every lamp, every bounce off a wall, every material's roughness value is a decision someone has to make, and a wrong one shows up immediately as a flat, grey, lifeless room. That's the exact complaint that shows up over and over in modeling forums, in almost these words:
"I am done modeling a house in sketchup. Now i am applying materials. But the interior is dark. And I would like to know if there are any efficient methods to light the interior up so that i can view the materials im applying clearly." — a SketchUp user, SketchUp Community forum
"I did my 1st 3d render however I find it very bright and unrealistic." — a SketchUp user, SketchUp Community forum
Notice those are opposite complaints — too dark, too bright — from two different people on the same forum. That's not a coincidence, it's the nature of interior lighting: there's no default that works, only a setup you tune by eye, room by room, view by view.
The two honest paths
There are really only two ways to get a photoreal interior, and they solve different problems.
Path 1 — light it properly. Set up real or physically-based lights in V-Ray, Enscape, Corona, or SketchUp's own tools; tune materials until they read correctly under that light; render. This is the only path that gives you a scene you can walk through, relight for a different time of day, or hand to someone else to keep editing. It's also the path every hour of setup time comes from.
Path 2 — skip the setup, render the view. Take the interior view you already have — a screenshot or an export, lit or not — and let an AI renderer add light, material and atmosphere to that single image. You get one convincing photo in about a minute. You do not get a walkable scene, a relightable file, or the ability to swap the camera angle without starting over.
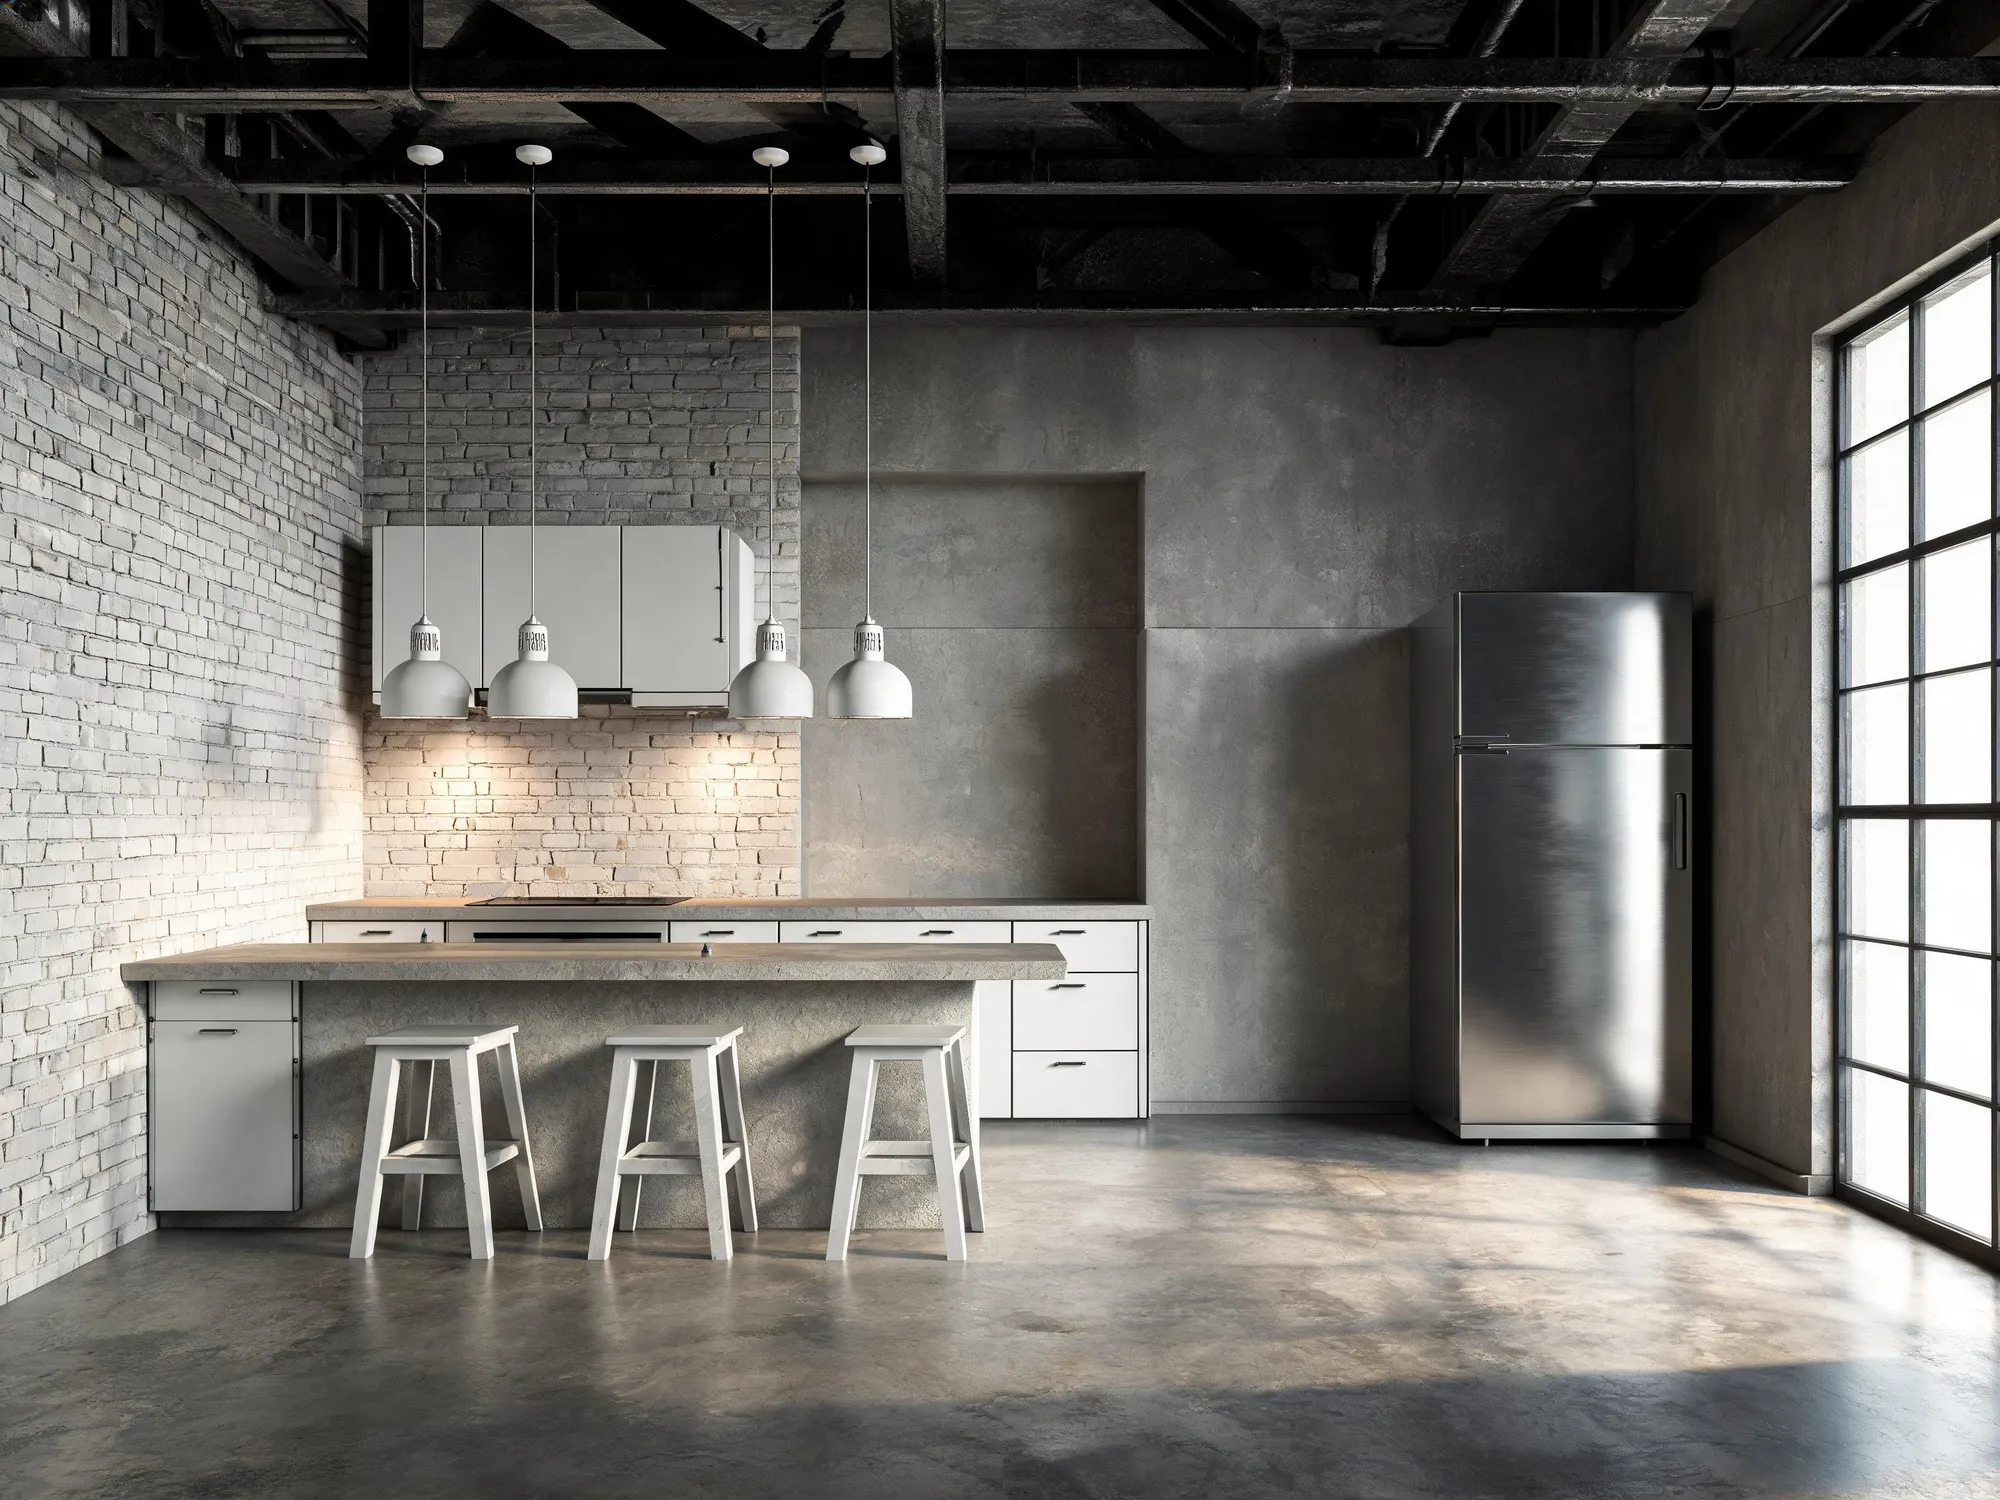
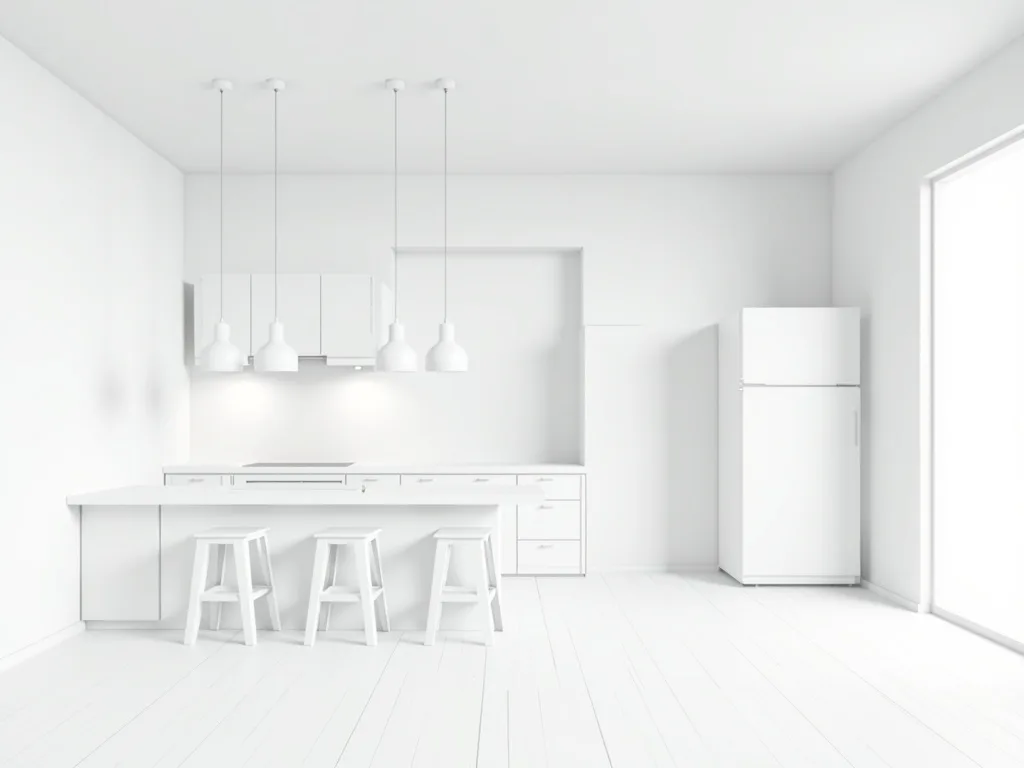
Path 2 isn't a replacement for Path 1 — it's a shortcut for the specific, extremely common case where what you need is one image, not a scene. A concept render for a client email. A material option to approve before committing to the real setup. A quick way to show a room that currently looks like this:
Where AI rendering earns real trust in this workflow
This isn't a hypothetical convenience — architects and designers are already doing this with their own SketchUp work, not because a tool told them to, but because they hit the same wall described above and reached for AI on their own:
"Some times I need to present the sketchup printscreen, but I'm feeling so dark. Is possible to light this style, withoud shadow? Like the 2nd imagem (I made with AI)" — a SketchUp user asking for exactly this, SketchUp Community forum
"I've been using Sketchup + Vray for some time however it seems that I'm still way behind in terms of making premium quality and realistic interior rendering… Now take a look at the following image which is A.I. generated and enhanced based on my render." — a SketchUp user, SketchUp Community forum
One of those had already been lighting scenes in V-Ray for a while and still reached for AI. The other just wanted one un-shadowed, well-lit version of a screenshot to present — no interest in learning a light rig for it. Different starting points, same conclusion: for a same-day image, tuning a full light setup is the wrong tool for the job.
Preparing your view (so the render reads your room, not a generic one)
You don't need a polished model, but the input still matters more than the prompt. A few minutes here saves a re-render later:
Preserve design, Faithful, or Creative — which to pick for an interior
In Studio, Preserve design is the default top-level choice. Open Advanced when you want to move the fidelity slider all the way toward Faithful or Creative. That choice matters more for interiors than exteriors, because interiors are where a client is most likely to notice a shifted layout:
None of these modes guarantee your layout is untouched pixel-for-pixel — no image-based tool can promise that. What the Advanced Faithful setting does is keep the drift low enough that a 60-second glance against your model catches anything that moved.
When you still need to light it yourself
Be honest with yourself about which of these you're actually doing, because Path 2 will not cover all of them:
If any of those is what's actually due, set up the lights. Path 2 is for the much more common case in between: you need a convincing image today, and the room doesn't have to be a file anyone edits later.
The 60-second check before it goes to a client
Whichever path you used, run this before sending an interior render out:
That last question is the real one. For a deeper look at what "good enough to send" means for different kinds of client work, see is AI architectural rendering good enough to show clients?
Which path fits your deadline
Try it on your own interior
The three rooms above started as plain interior models with no lighting pass — the same starting point most interior views are in the middle of a project. Upload your own screenshot or export, pick Faithful if the layout matters or Balanced if you want the room to simply look good, and judge from your own result rather than someone else's example.
Frequently asked questions
Why does my SketchUp or Revit interior look flat or fake?
Almost always it's lighting and materials, not the model. A default view has one uniform light source and no material tuning, which reads as flat no matter how detailed the geometry is. That's also why "the interior is dark" and "the interior looks unrealistic" are two of the most common questions in modeling communities — they're the same underlying gap.
Do I have to set up lights before I can render an interior with AI?
No. An AI renderer that works from an image reads your existing view — lit or unlit — and adds light, material and atmosphere itself. A flat white model with no lighting pass at all still works as an input.
Will an AI render change my room's layout?
It shouldn't, and the Advanced Faithful setting is built to keep that drift low, but no image-based tool can promise pixel-perfect geometry. Always glance the result against your model before sending it anywhere that matters — see the 60-second check above.
What's the difference between rendering an interior and an exterior with AI?
Mostly how much the render has to invent. An exterior view usually already has real daylight and visible material cues; an interior is more often flat and undertextured going in, so the render is doing more of the lighting and material work. That's exactly the gap this workflow is for.
Can I use this for a material approval, not just a finished render?
Yes — render the same view once per material direction (walnut vs. oak flooring, for example) and compare the results side by side. It's faster than lighting and relighting the same room for every option under consideration.
Is a render like this good enough to send to a client?
For a concept, a material check, or an early design conversation — yes, with a quick check first. For a spec-accurate final, a photometric study, or a walkthrough, no — see is AI rendering good enough to show clients? for where the line actually is.